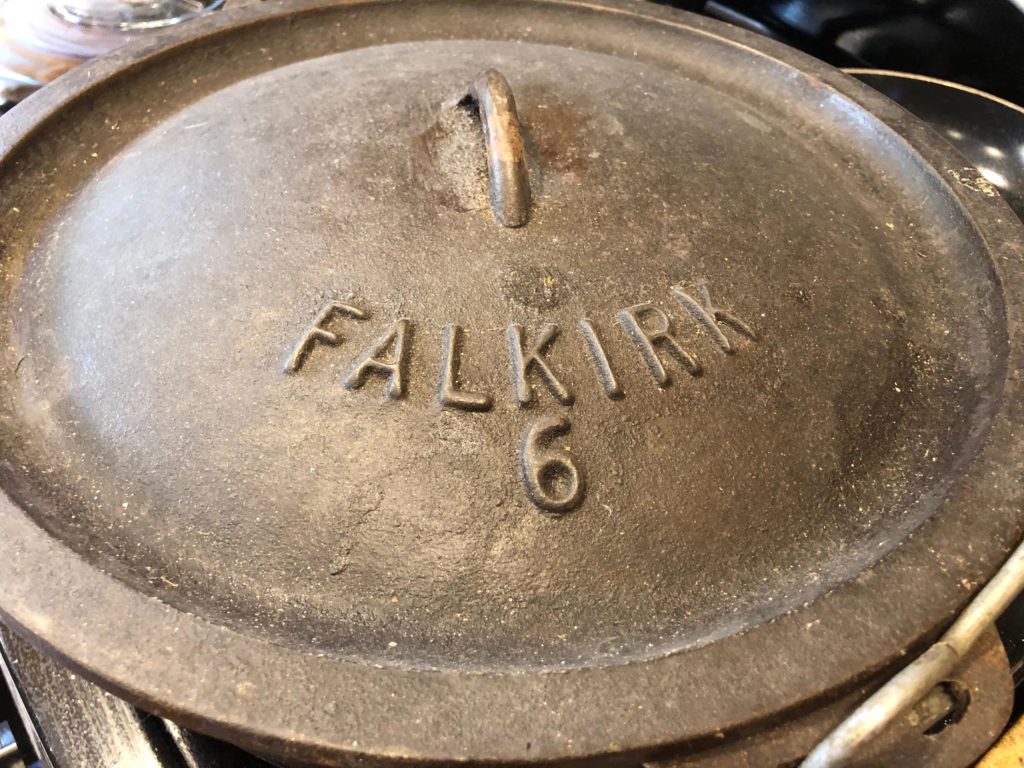
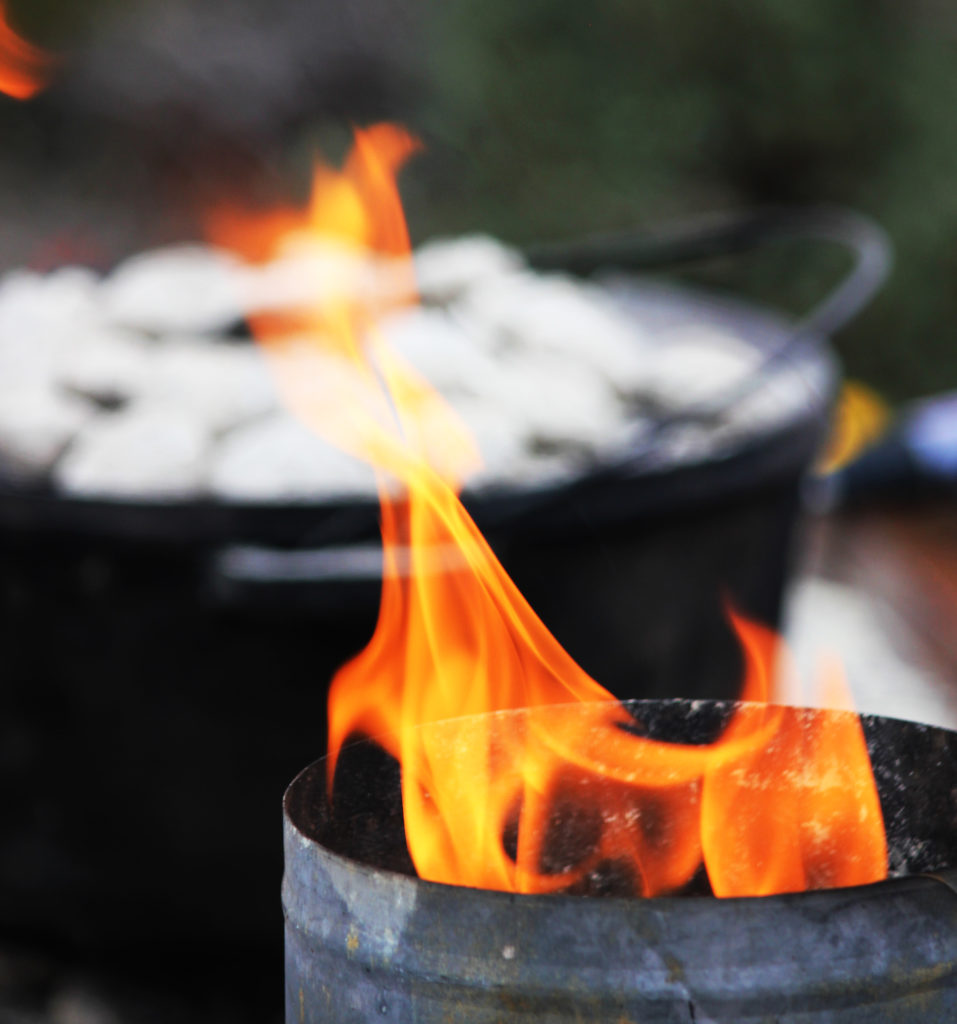
Needing info and help from the readers out there. This is a new name in cast iron for us. Preliminary internet searches aren’t digging up too much usable information.
Click on this links for the full article and more photos.
![]()
Dutch Oven & Cast Iron Cooking, Cast Iron Care & Reconditioning, Events, and Friends
Needing info and help from the readers out there. This is a new name in cast iron for us. Preliminary internet searches aren’t digging up too much usable information.
Click on this links for the full article and more photos.
![]()
![]()

![]()

![]()
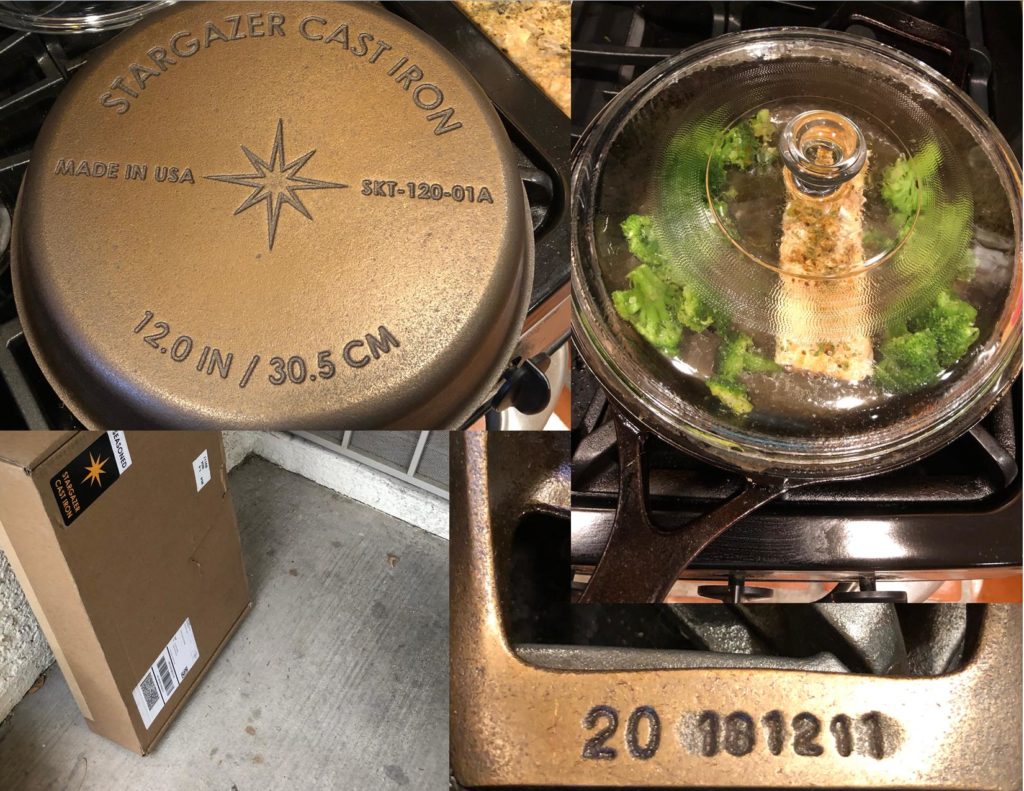
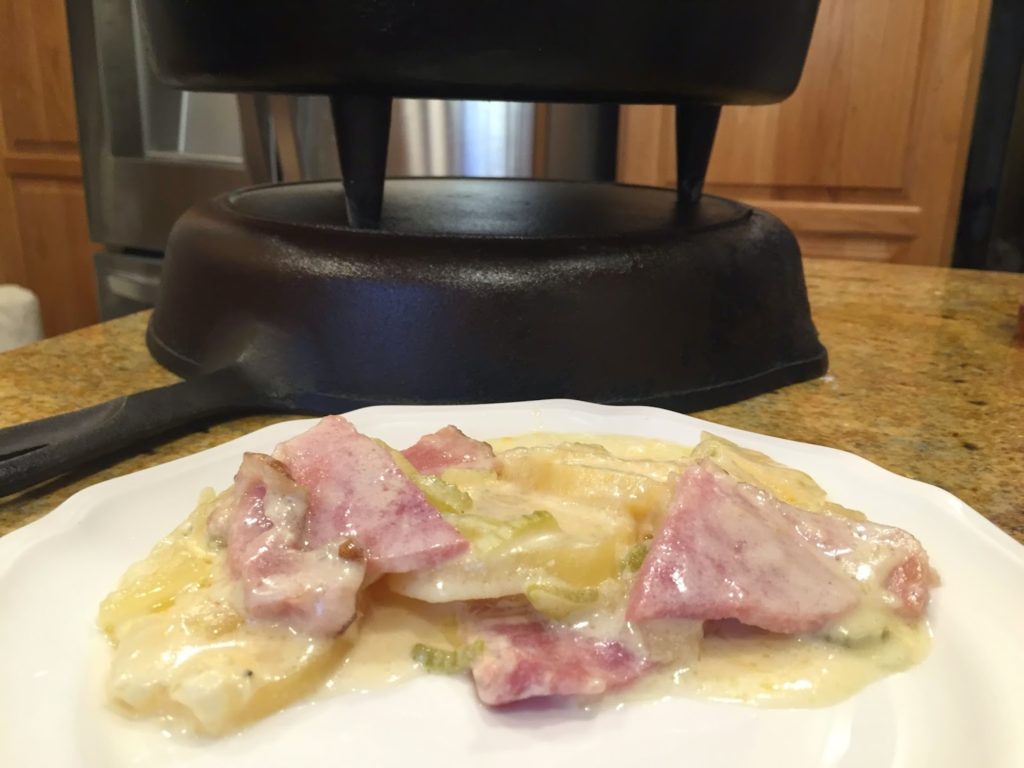
We are a repeat customer of Stargazer and hope to have some info to post for our readers. Our 12 inch Skillet just came.
We collect vintage as well as modern USA Made Cast Iron cookware. Our previous 10 inch skillet has the smooth finish and performance of some of our cherished vintage pieces. We love the look of our new 12 inch!
Click this link for the full article on STARGAZER
![]()
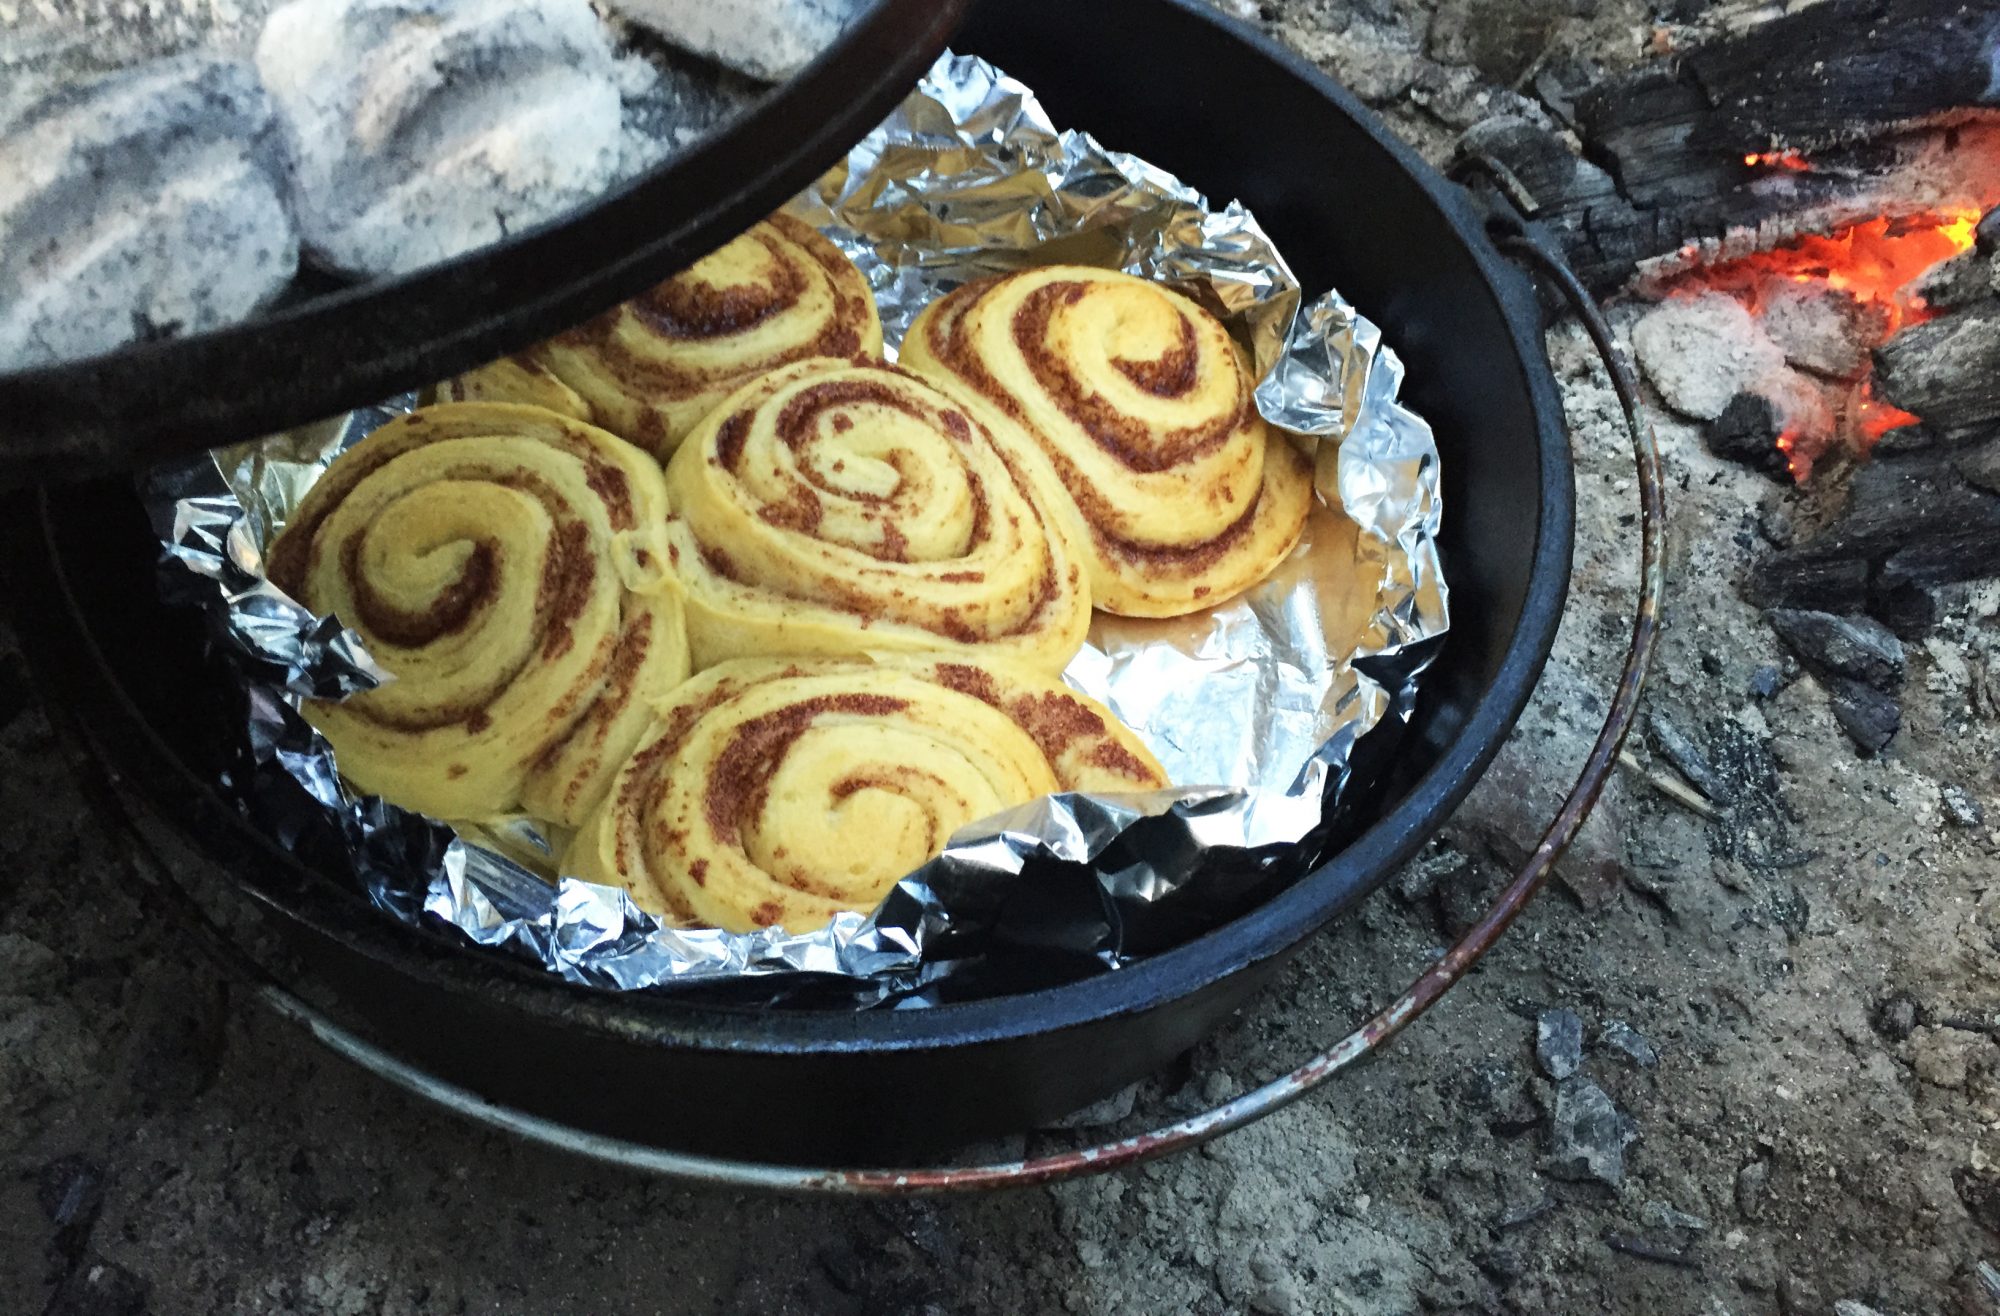
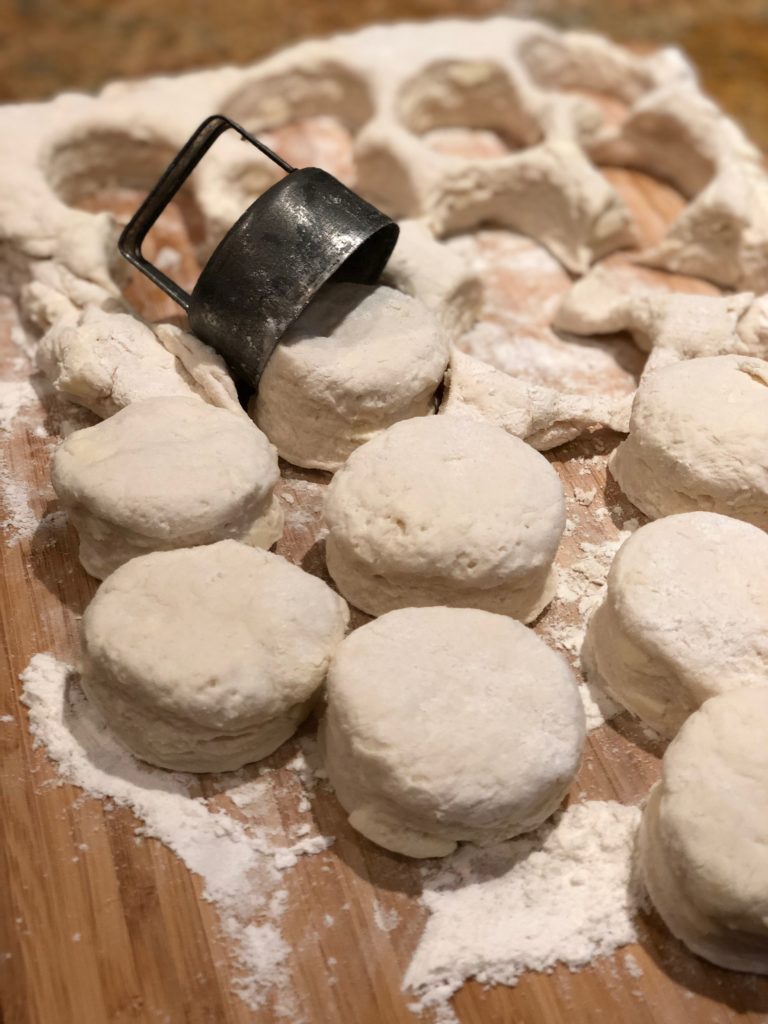
Some cold mornings you just have to reach for the buttermilk, real butter, and just be Bad!

Real old fashioned biscuit making is a lost art in many families. A generation away it was common. “Canned” biscuits are something more recent.
If you have never had real homemade biscuits you are really missing a delightful breakfast addition. Fresh and warm just out of your oven, they can’t be beat.
Its even more fun if you have vintage biscuit cutters and bake these in a cast iron Dutch Oven using charcoal or wood coals.
Click this Link for Recipe and helpful techniques.
![]()
![]()
![]()
Mark your 2019 Calendars. Gather your cast iron and prepare to travel!
The 2019 Gathering is in October at Hillsdale, Illinois.
![]()
![]()