We needed to whip up a quick dinner tonight. Something fast after a long day of work. The Blacklock Skillet was sitting on the stove so we figured we might as well use it.
This is also for the naysayers of cooking acidic foods in cast iron. We cooked this up with several tomatoes as an ingredient.
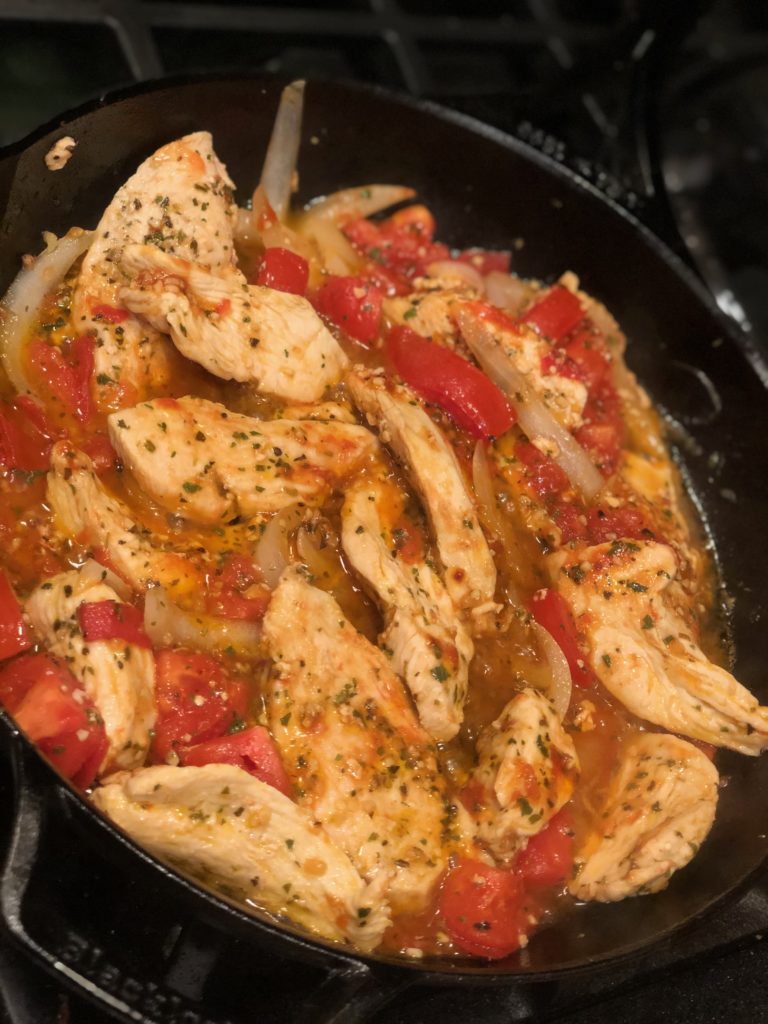
Cooking in the LODGE Blacklock Skillet
We had some left over Angel Hair pasta from a meal the night before. A raw chicken breast in the fridge and some other common ingredients available.
We sliced the chicken in rather thin stripes and started browning them in some olive oil. The rest of the ingredients we added in on top to cook until tender. You are on your own for quantity. We just threw this together without measuring anything.
1 Chicken Breast cut in strips Olive Oil Minced Fresh Garlic 1/4 Sweet Onion cut in thin strips 3 Fresh Roma tomatoes coarsely diced Cilantro Sweet Basil & Oregano Bruschetta Seasoning Mix (McCormick) Salt & Pepper Parmesan Cheese
The Chicken and Tomato medley was served over the rewarmed Angel Hair which was then lightly buttered. The Chicken and Tomato mixture was then topped with grated Parmesan Cheese.
Again we were cooking in the Skillet with only the factory triple seasoning. It cleaned up perfectly, and with ease, with just hot water. There is no visible change to the skillets cooking surface or seasoning having just cooked tomatoes in it.
While I enjoy Dutch Oven cooking/baking often. I don’t shy away from other forms of cast iron. Even while camping.
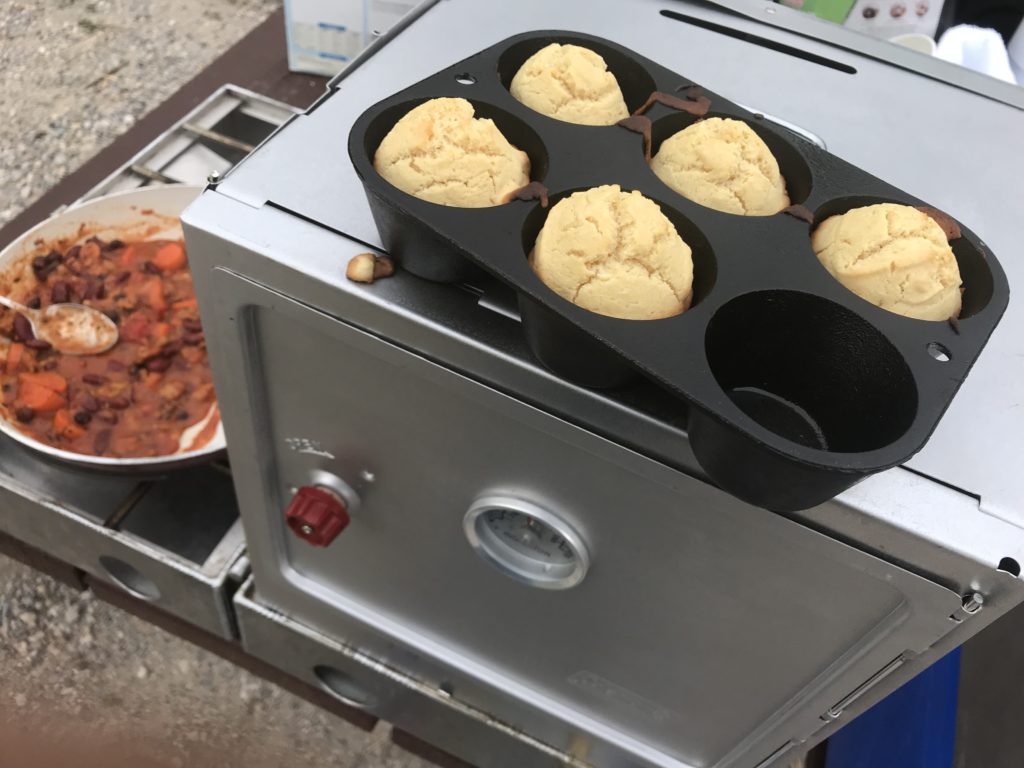
While on a recent “car camping” outing I put to use a modern piece of Cast Iron. A modern Lodge 6 muffin cast iron pan. It fits perfectly in a fold up Coleman Oven. I use the oven on my camp stove. Both the Oven and Pan pack in a small space and permanently ride in my “camp box”.
Shown above serving hot corn bread muffins with a bowl of chili. Which incidentally, the chili was done in a Dutch Oven.
Also shown is a 4 burner LP Partner Stove.
If you think this combo doesn’t make warm muffins for a side with coffee…..on a brisk fall morning. You better reconsider!
The BLACKLOCK skillet is a keeper! You certainly want to read through this review for all the details. We will also provide the link to the info on the LODGE website.
https://youtu.be/SHKreTCavr4?t=1
The Dutch Oven Cook is happy to present our personal evaluation of the new cookware line from LODGE.
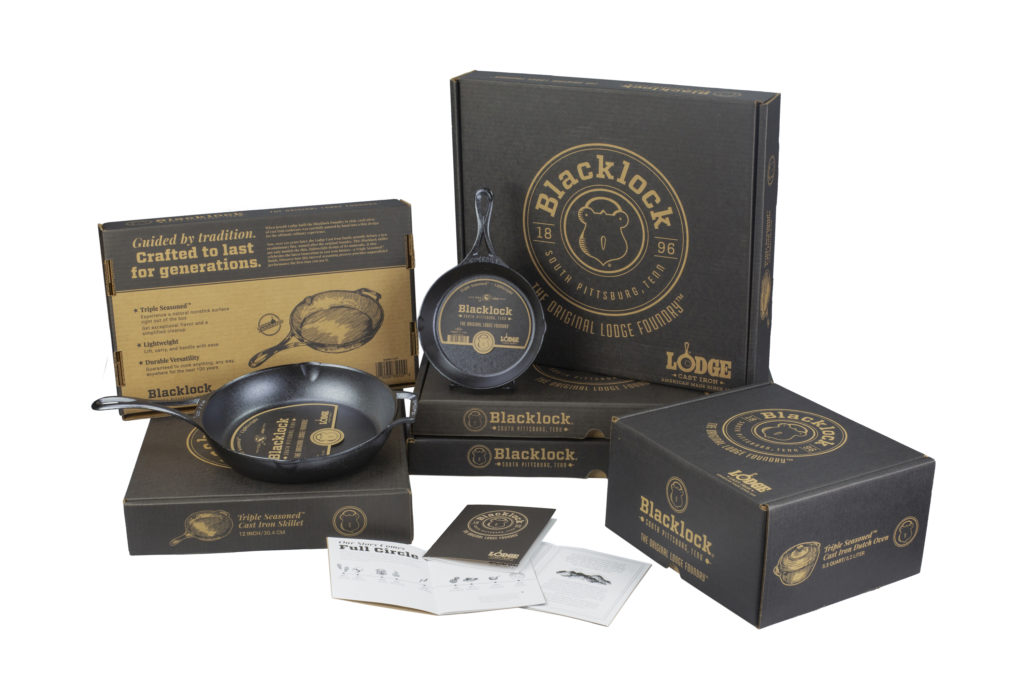
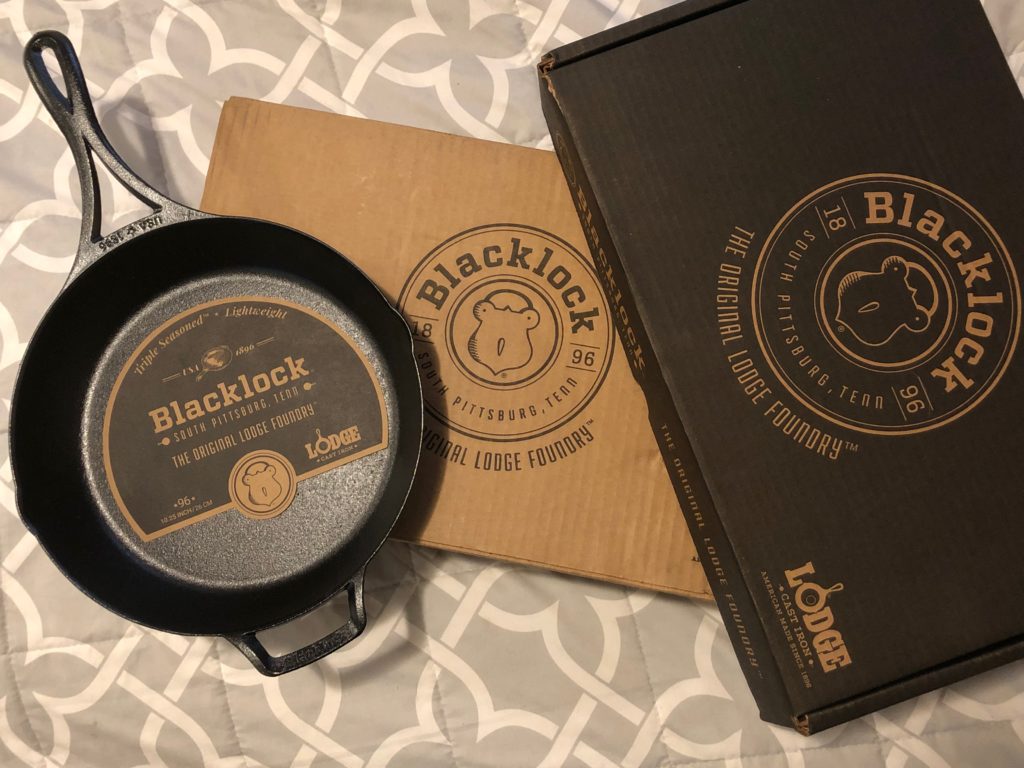
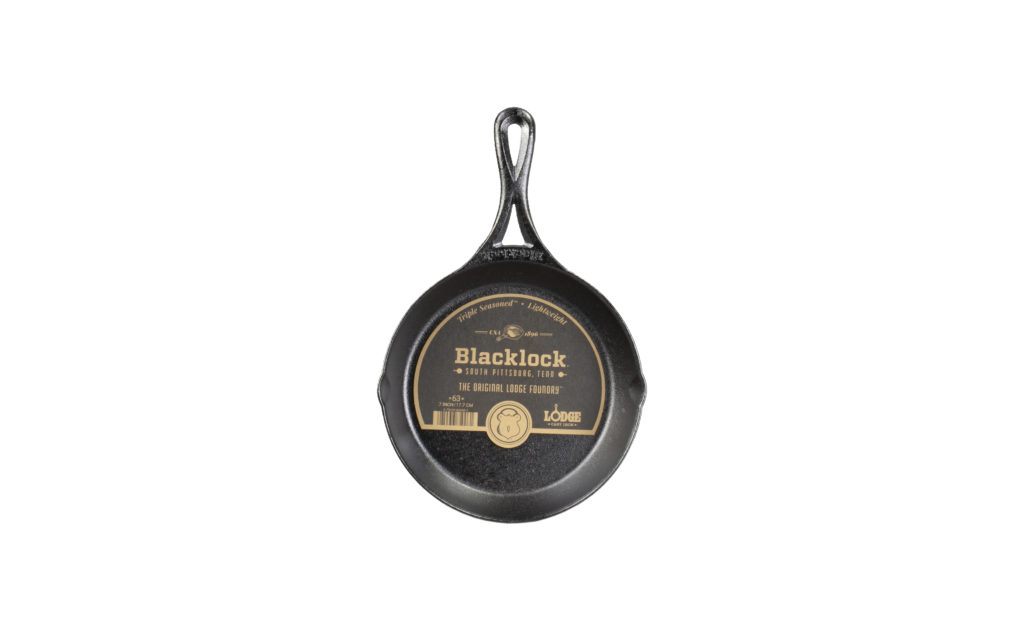
The BLACKLOCK line of cookware is redesigned, lighter weight, smoother surface, and comes factory triple seasoned.
Image Courtesy of LODGE
When UPS delivered our skillet, we were attending an event in the Redwoods of Northern California. We were camping, cooking, and enjoying the outdoors. We could hardly wait to return and put the skillet through some cooking tests. In hindsight, we wished the skillet had arrived before we left. We could have put it to use the 10 days we were camping and cooking.
Back home to the real world again we found the skillet, double boxed, delivered by UPS. The packaging was excellent. Someone would really have to mess up in the delivery system to have it arrive damaged.
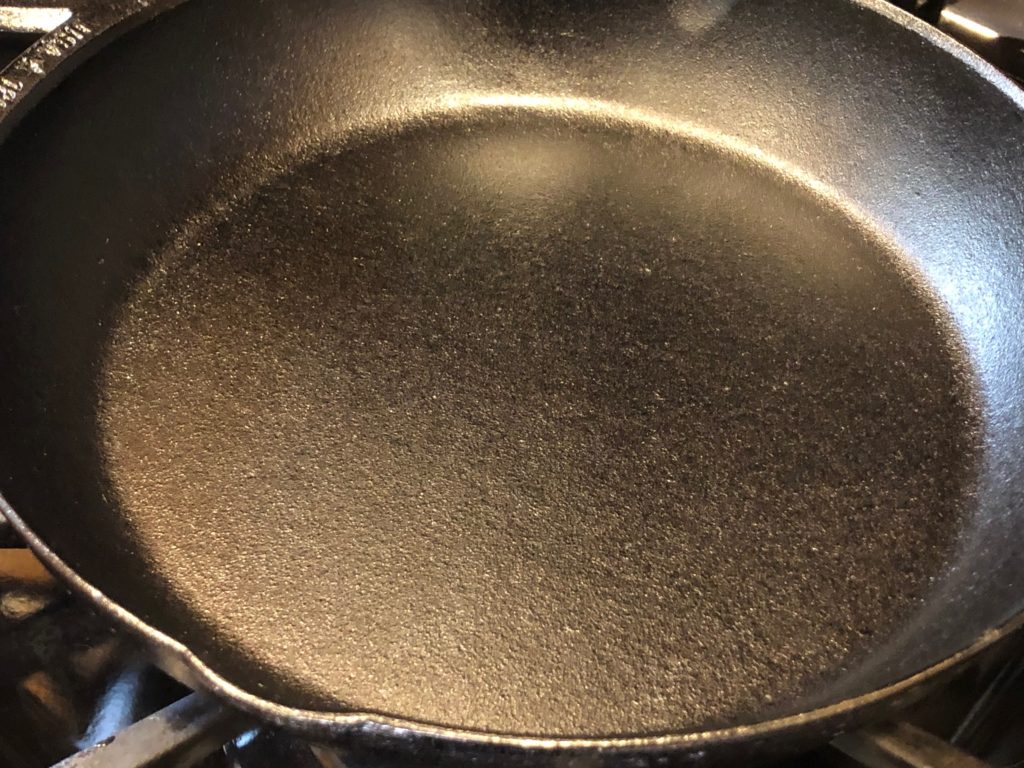
Our test piece is a 10.25 inch skillet. We used the skillet straight out of the box, after giving it a wash in hot soapy water. We applied no additional seasoning. It comes tripled seasoned.
You will appreciate the thinner, and lighter, design. We love the handle style. It stays cooler longer when cooking. You will also like the smoother finish. More smooth than their traditional modern cookware. Though not machined to a glass like finish, they have found the perfect balance to achieve great seasoning properties. Seasoning that even right out of the box is virtually a non-stick cooking surface.
EDITORS NOTE: For those new to cooking with Cast Iron, or having trouble with food sticking when cooking with Cast Iron, please take note. Cast Iron Cookware, regardless of the finish or seasoning, is not for someone in a big hurry that may be used to cooking with Teflon or other manufactured non-stick materials, at medium high or high. For the most part, slow things down and you will be amazed. Though there are times you may have to sear meat at higher temperatures.
During our testing we apply a light coat of spray canola oil and cook on medium low. We use the same technique when using other Cast Iron cookware for comparison.
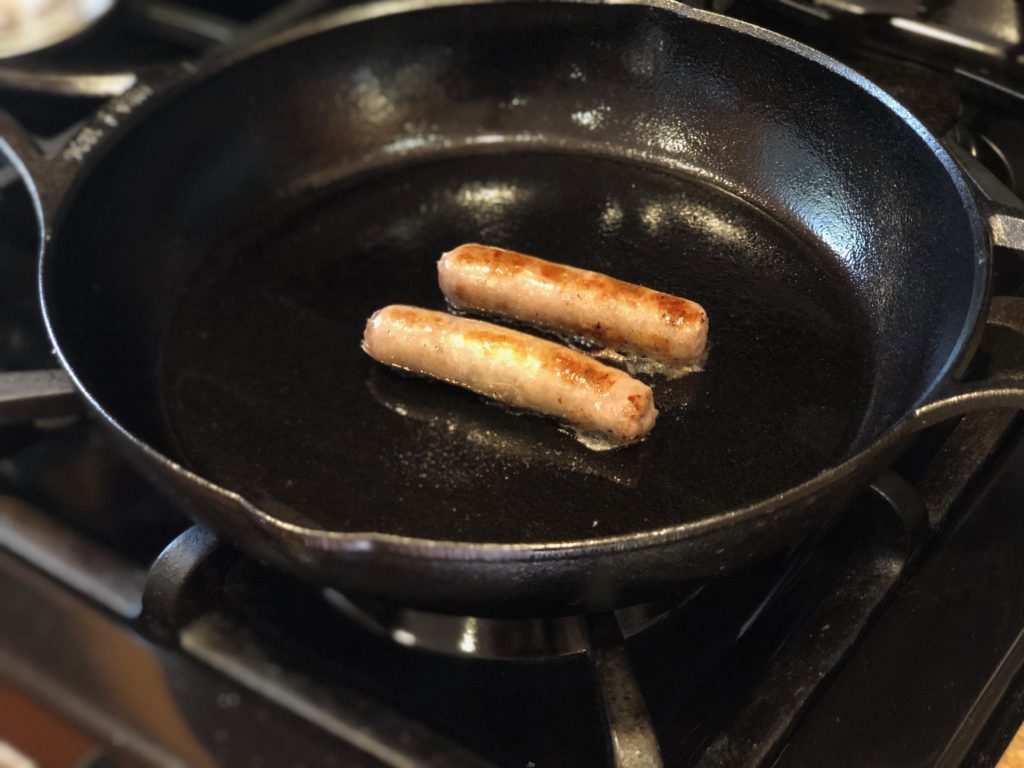
We cooked 3 items in the skillet that might normally give even the average experienced Cast Iron cook problems with sticking. We did Sausage Links, Fried Eggs, and Scrambled Eggs.
Again we sprayed a thin coat of canola oil on the interior cooking surface of the skillet. We then cooked the 3 items on Medium Low.
The sausage did not stick and browned nicely.
The over easy eggs did not stick. In fact they easily slid around. We were even able to accomplish a chef flip without the use of a spatula.
Scrambled eggs are always a tough food to avoid sticking when cooking in cast iron. No problem in the BLACKLOCK. As shown in the video nothing is adhering.
Cleanup was simple with hot water.
In the opinion of The Dutch Oven Cook: If you are an occasional Cast Iron Cook, or the more experienced daily user. Have had trouble in the past with sticking and have given up on cast iron. We can only say you will want one or more of the BLACKLOCK line of cookware from LODGE. They cook great right out of the box!
We hope to come back to this review from time to time with additional information of foods we cook.
For more information on the BLACKLOCK line of cast iron cookware, LODGE, LODGE Products, and some of the fascinating history they provide.
Disclaimer: LODGE provided us this 10.25 inch skillet for testing since we were unable to find them locally yet. In no way is our review a paid testimonial, solicited advertisement, or were we at any time even asked to provide anything other than an honest review.
We are excited to announce our Blacklock skillet arrived. A new product line from Lodge. We have yet to find this line in any local sporting goods stores or places we normally find Lodge products.
Be watching for our product review/evaluation coming soon. We are already liking the look of the factory triple seasoning! Definitely lighter weight! For sure, though not machined, a more smoother surface.
If you are not on our mailing list. Be sure to sign up. You will instantly be notified anytime we publish new Blog posts.
We would appreciate readers input and requests for what you might like to see us provide during our product review of this new Blacklock skillet. Please Email us.
Introducing the Blacklock line from Lodge. As a cast iron lover, user, and collector, new products always interest us. We like a wide variety.
We recently stumbled into the Blacklock line. As we spoke of it to others in our circle of Dutch Oven Cooking friends. We quickly realized many are as uninformed as we were.
Numerous collector and daily use cookware pieces we have are Lodge. Vintage as well as more modern. Old school plus pre-seasoned.
To our knowledge the new Lodge line of Blacklock is a premium more lightweight piece of cookware. Best of all it comes triple seasoned!
History wise, Lodge was the first to introduce factory seasoned cookware. Starting that back in 2002. Now they are offering a triple seasoned product.
We hope that somewhere down the road, we have the opportunity to test out a some of the Blacklock line. Then provide you with a candid and honest TheDutchOvenCook review.
How many of you have multiple pieces of Cast Iron Cookware? I certainly have way too big of a collection. Probably borderline hoarder? Actually, no “probably” about it. LOL!
From Skillets to Dutch Ovens, to other iron in between. They are meant to be used and not just sit on the shelf. I try to put many of them to real use from time to time.
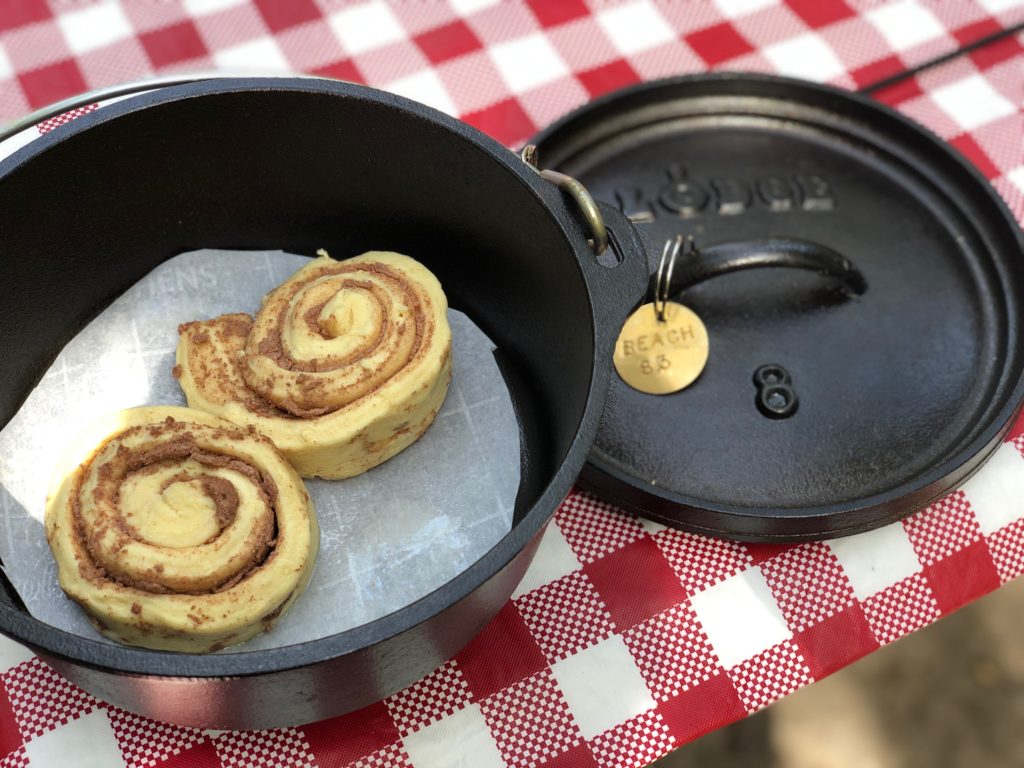
Often times I find myself returning to my #8 Cast Iron Dutch Ovens. I have three of the more modern Lodge in this size.
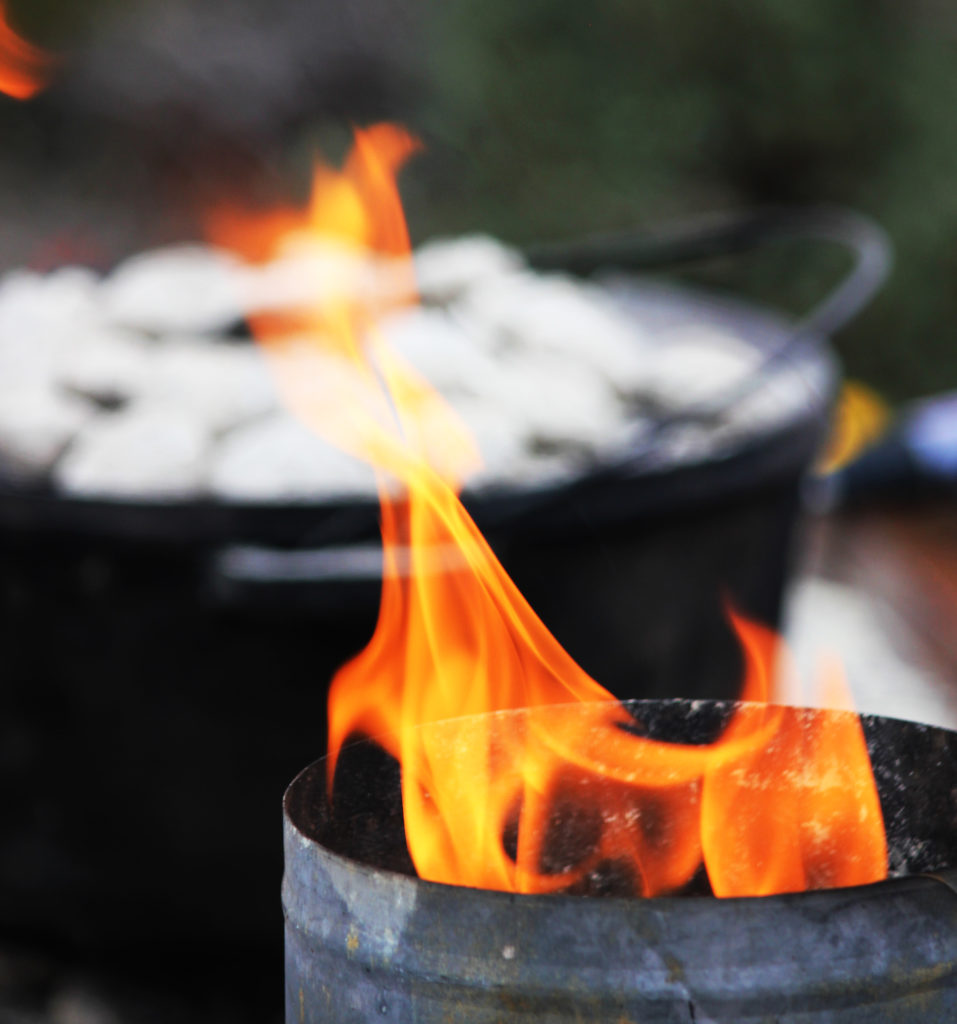
I find them perfectly sized when cooking for two people….perhaps even large enough for four depending on what you cook or bake. No need to waste expensive charcoal. Most things can be baked or cooked with 15-16 properly arranged briquets.
I find the 8 inch Dutch Ovens especially ideal for camping. While their larger cousins are great for competition cooking, large pot-luck’s, or cooking/baking for more people or a larger than two family. My go to Dutch Oven for camping trips is my 8 inch. The smaller size makes their weight insignificant.
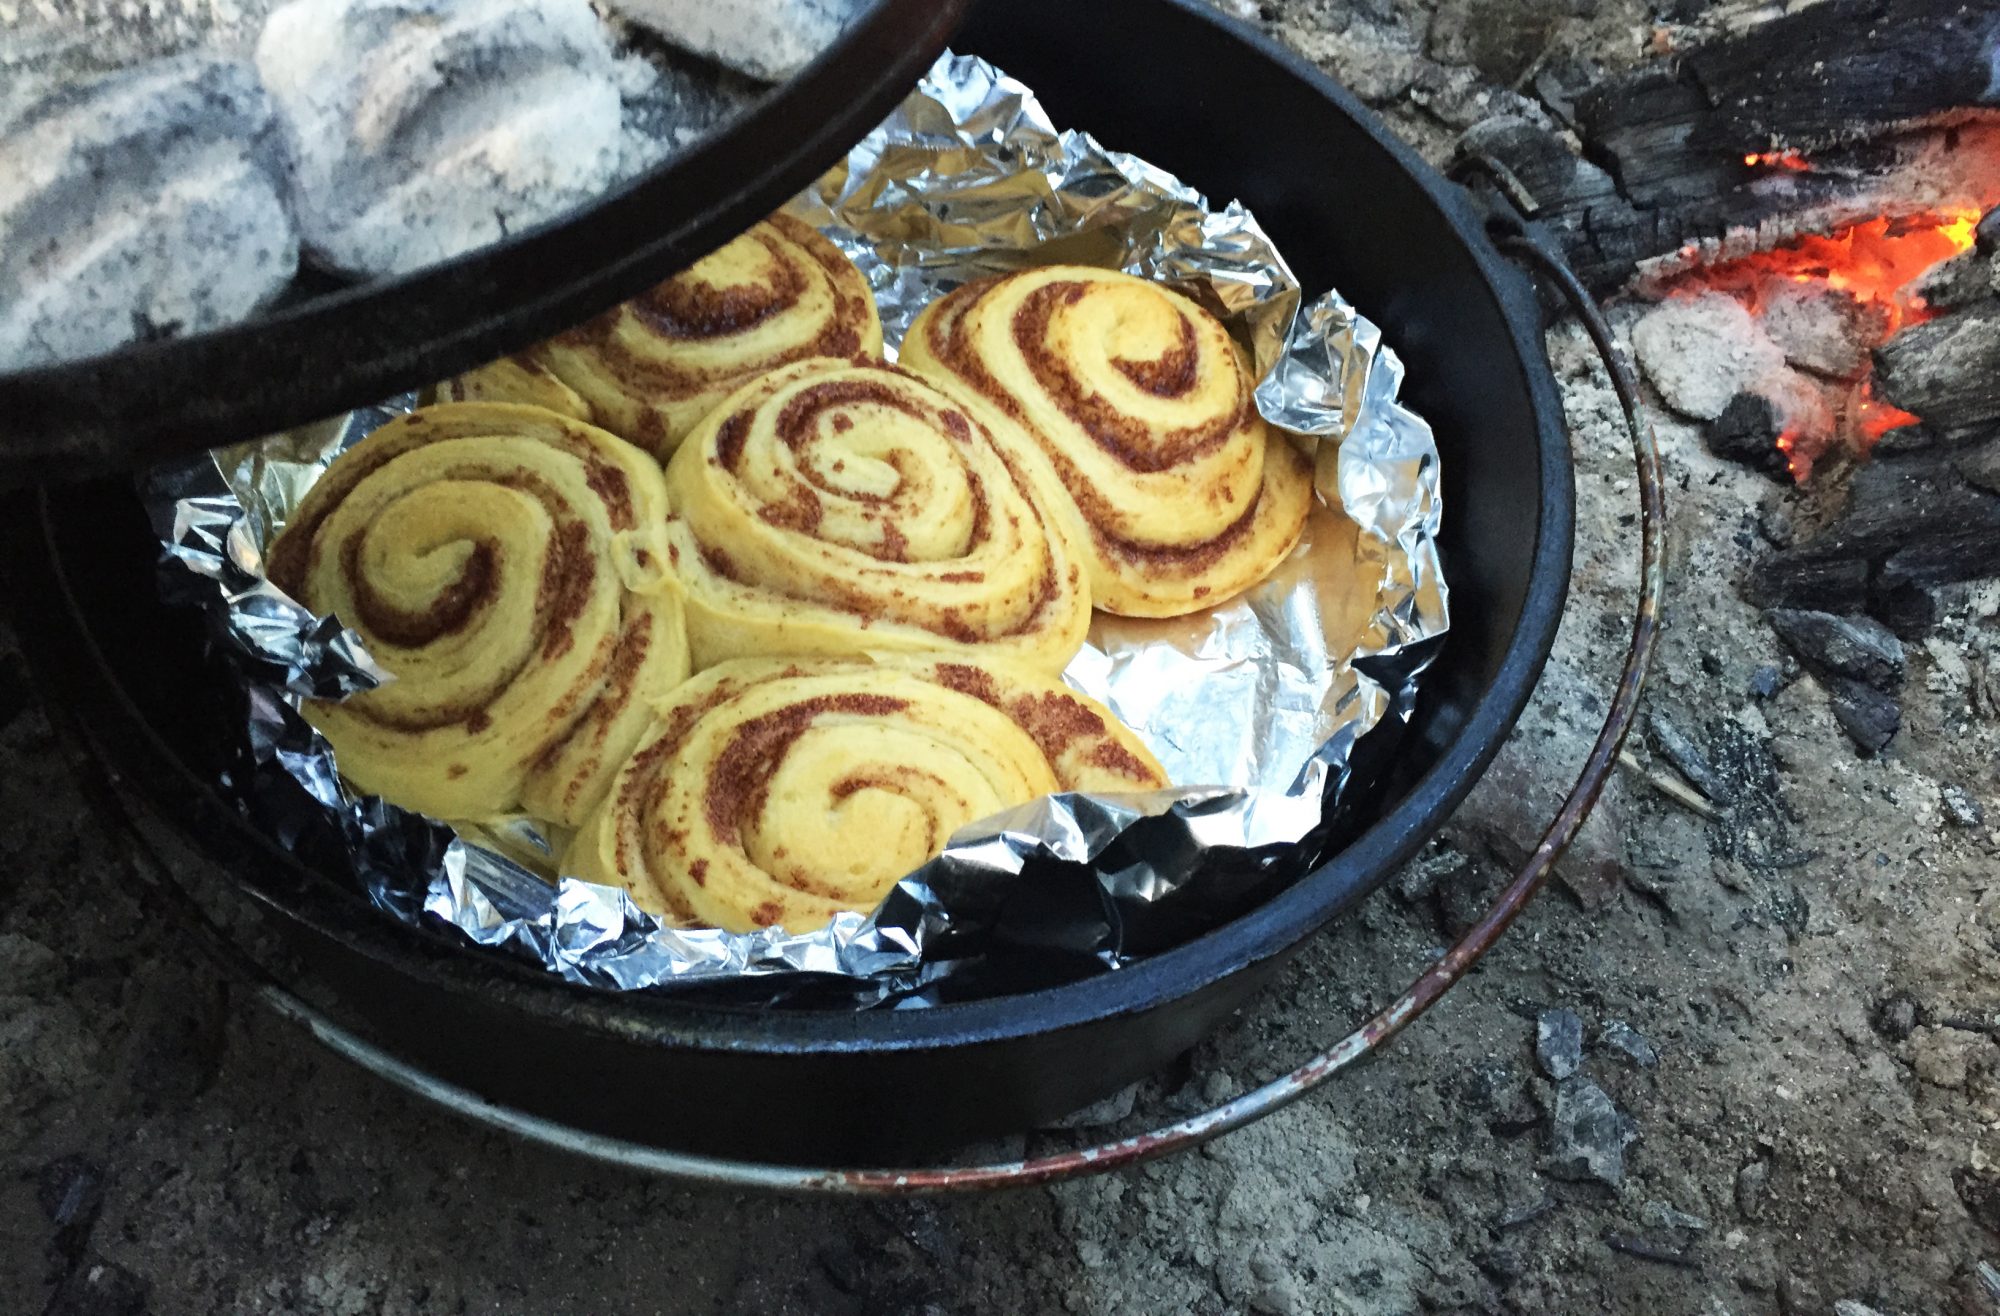
These are great for a small batch of morning biscuits or pastries. Able to produce those hot and fresh goodies while waking up to some fresh coffee. If you want a full blown breakfast, bake up a Dutch Oven Mountain Man Breakfast.
Sweet Dough Recipe (Makes 24 or a Double batch)
You can bake all or Refrigerate or Freeze half this batch)
You can cut this recipe in half by changing the "Serving" Box quantity to 12. That will auto adjust the ingredients.
For this Double batch you need (2) 11x15 baking pans or (2) 12 inch Dutch Ovens
4 to 4 1/2cupsFlour (all purpose)Reserve a small portion to adjust mix near end of mixing
1 1/2tspSaltwhisk with the dry flour and set aside
1 1/2CupsUnsweetened Coconut Milk Warm (Swap out with regular Milk of the same quantity) Note for Double Batch 1 1/2 Cup equals 13.5 oz can - Half a can for a single batch)
6TbspAgave Liquid SweetenerWarmed/Room Temperature (Swap out: 1/4 Cup White Sugar for every 3 Tbsp Agave in Recipe))
2tspRapid rise yeast Whisked into the Milk & Agave. Allow to "bloom" about 15 minutes
2LargeEgg raw room temperature whisked
2TbspButterMelted
DOUGH FILLING INGREDIENTS
1CupRoom temperature Very soft real butter
3CupLight Brown Sugar
4TbspGround Cinnamon
2tspCornstarch
2CupRaisins (Optional)
BRUSH THE TOPS OF THE BAKED ROLLS
1/2CupButter Melted
ICING INGREDIENTS
1/2cupButtersoftened
8ozcream cheesesoftened
2cupsconfectioners’ sugar
2tspVanilla extract
1TbspTbsp. Lemon Juice or Orange Juice
1tspSalt
Method
Making the Dough
Bring egg to room temperature by placing it in a bowl of warm water while getting ingredients together.
Never mix your salt & yeast together in the liquids. Doing so will usually kill your yeast.
In its own large bowl whisk together 4 of the 4 1/2 Cups of Flour and the salt. Set this Flour and salt mix aside. (Reserve the 1/2 cup of plain flour)
In a second bowl add the Warm Milk. The non-technical way of checking the temperature is to test on your wrist. Make it baby bottle warm. If you are the type that needs to use a thermometer the temperature should be on the yeast container, or you can find it on line. Many places state 110-115°F. Whisk Warm Milk, Agave, and Yeast together. Allow that is sit about 10-15 minutes to let the yeast "bloom".
Next crack the room temperature warmed raw egg into a third bowl and whisk well. Once well whisked, slowly pour the whisked egg into the Milk, Agave, Yeast mixture while whisking it in.
Lastly whisk the melted butter into the Milk mixture.
In a large bowl mix half the flour salt mix with the entire warmed milk yeast mixture. At this point you can use an electric mixer to help the dough along. This will be thin enough since only half the flour mixture is being blended in this step. You can also use the old fashion way of mixing it in the bowl by hand. A Kitchenaid with a dough hook is even better.
Or a Bread machine with the "Dough only option" could be used.
Using a bread machine you could set it to "Dough" and "Quick Bread" (since we are using rapid rise yeast) and dump all the Flour/Salt mix, and the mixed liquids together, turn the machine on, and walk away. Most machines that have a program cycle for quick dough will produce the dough in about 45 minutes. Complete with the first "raise". Ready to roll out and add the filling. Then raise the 2nd time.
For those using a more traditional methods read on.
Once the really thin mixture (Half the flour salt and all the liquids) have been mixed, slowly start adding the remaining flour/salt mix Toward the end, use that reserves ½ cup of the flour and adjust dough to proper consistency.
Kneading the Dough
Turn out on a floured board and knead and fold until proper dough consistency. Not sticky. And not dry and stiff. But stretchy and beginning to show signs of air bubbles. Some describe it as soft as a baby's bare bottom. The dough in this stage needs to be very well kneaded. It takes some time and work if doing it by hand.
First "Rise"
Coat the well kneaded dough lightly with oil or butter (Pam or spray cooking oil is easiest), place in large warm raising bowl (a warmed heavy/thick glass or ceramic bowl works best). Cover the bowl with a towel or plastic wrap. Keep in a warm place for about 45 minutes. Dough should double. Punch down.
Adding the Sugar & Cinnamon Filling
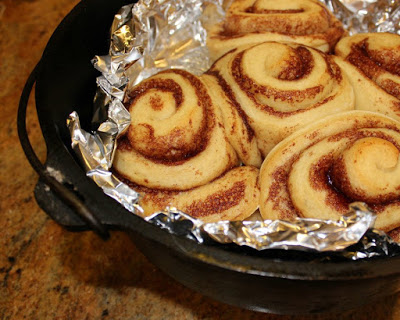
Cut dough in half and work one half of the dough at a time to make rolls. On a floured board roll out dough, or work it by hand to about ¼ - ½ inch thick, in a rectangle about 16X20 inches. Spread with half the soft butter. Sprinkle with half the dough filling sugar mixture. Spread half the Raisins (optional) over the butter/sugar layer. Roll the dough up long ways so you have a log 20 inches long. Pinch the seam the length of the log. Slice across the log to make 12 equally wide rolls. Place the rolls in a warmed greased 11x15 baking dish. Or a greased warmed 12 inch Dutch Oven. Remember this is a double batch so you will need two baking dishes or two Dutch Ovens. Spray the tops lightly with Pam or other spray cooking oil. Repeat for the second half of the dough.
Second "Rise"Cover and keep in warm area for about 45-60 minutes or until doubled.
Preheat oven to 350° and Bake for 15-20 minutes or until slightly golden brown on the top. Properly baked they are soft but not under cooked and doughy. With a Dutch Oven and coals for 350° start checking them at 15 minutes, and then every 5 minutes until done. When removed from the oven brush the tops with melted butter.
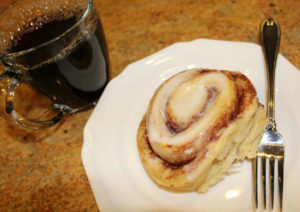
Mix all icing ingredients using a hand mixer about the time the rolls come out of the oven. Add additional powdered sugar to get your desired consistency. I like little peaks that keep their shape. Spread icing on slightly warm rolls. If it is too thick add 1/4 teaspoon of milk and completely remix and recheck. Keep at room temperature to ice the rolls.
Let rolls cool slightly on a wire rack. While still warm spread half the mixture over each half batch of rolls.
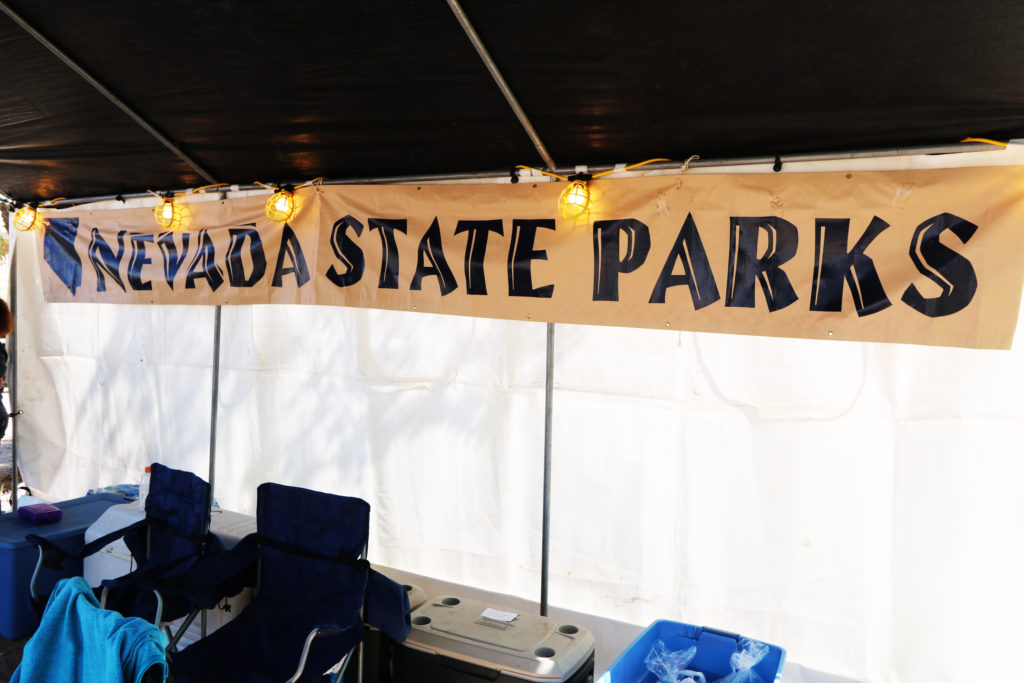
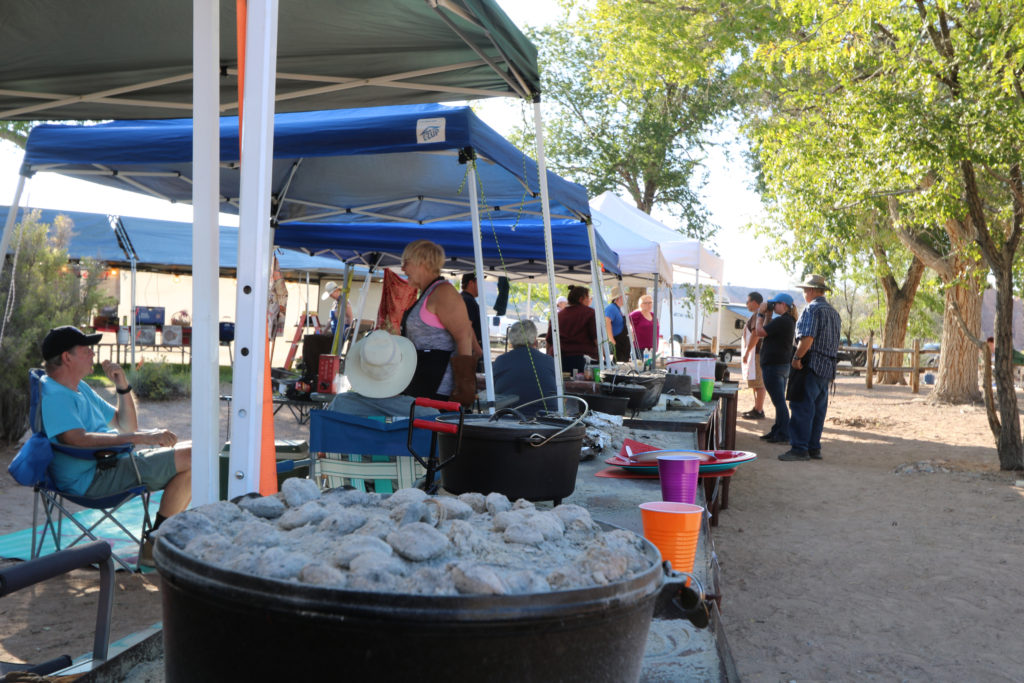
Calling all Cooks, eaters, and spectators to visit the Mormon Fort.
If you are a Las Vegas visitor. Or new to the area. Many never realize this State Park is in the center of Las Vegas. There is a ton of frontier history to go along with this fun cooking and eating event.
This is a preliminary post so that you may mark your 2020 Calendars.
This State Park, in Las Vegas, Nevada. Has scheduled their 2020 Dutch Oven Cook-off for Saturday March, 28, 2020.
The taste of this bread is that of old fashioned white bread. There is no coconut taste in the finished bread. Organic Blue Agave is used since it is a low Hypoglycemic organic sweetener. A friend (Kathleen Leblanc) gave me a bread recipe using Agave Syrup in place of sugar. Starting my quest of using Agave.
The version shown here is my tweaked version to suit my tastes. I use Coconut Milk rather than regular milk , other milks, or water.
Adding extra Agave to sweeten the dough and this also makes excellent Cinnamon Roll dough.
I often bake this in a Dutch Oven. Free form loaves could be used. Or small loaf pans. Use a large, tall, Dutch Oven and coals for 375°. I prefer to use one standard bread loaf pan. I place a wire rack in the Dutch Oven to elevate the loaf pan slightly.
SET BREAD MACHINE to “Quick”, “Dough” Start so pre-heat is going.
PLACE Flour in bread machine. Make a hole in the flour pile with your finger (Volcano looking) and pour the salt into the hole in the flour, then cover the hole.
COMBINE in a separate bowl the Warm Coconut Milk, warm Agave, and Yeast. Whisk and allow to "grow" 5 to 15 minutes.
COMBINE in yet another separate bowl the whisked warm raw Egg, and melted but only warmed Butter. Whisk to combine. {DO NOT heat the butter so hot, it cooks the egg when they are combined)
COMBINE the Milk/Agave/Yeast mixture with the Egg/Butter mixture and whisk to combine all the liquids.
POUR combined liquid mixture gently around the edges of the flour/salt volcano in the bread machine.
Let the bread machine starting running through Quick, Dough, cycle (Mix & Rise normally about 45 Minutes) This is normally a manual override setting on most bread machines. (A mixer and dough hook could be used. Or the old fashioned method of kneading on a bread board.
After the machine runs through its dough cycle ( about 45 minutes). Pull the dough out and place on a floured bread board. Knead and add extra flour if needed to get to proper consistency (just beyond sticky). Stretch and pat dough to about 1 in thick. Then Roll up and pinch seal the long seam, and tuck the two ends under to form your loaf. Pinch sealing the fold under also.
PREHEAT oven to 375 degrees F. Grease Bread Pans. The warmed stove top will become the area to raise the loaves. Put a thin layer of olive oil on all exposed surfaces of your dough loaf. Place the dough loaf in your greased bread pan with the sealed edges down. Cover the loaf/pan with a floured towel and place on your warm stove top. Just not directly above any oven vent that may get overly hot.
Let the loaf raise until doubled. About 45 minutes.
Gently place the raised loaf in the preheated 375° oven and bake for approximately 25-30 minutes or until golden brown. When finished baked loaf is tapped, it sounds kind of hollow if everything went well.
While hot remove from the loaf pan. Carefully to avoid collapsing the top. For a soft crust rub butter on all surfaces of the loaf while still hot.
Cover with a towel until cooled. Once cooled completely. The loaf can be sealed in a bread bag.
Notes
You can make the dough without using a bread machine using traditional methods and arm power.