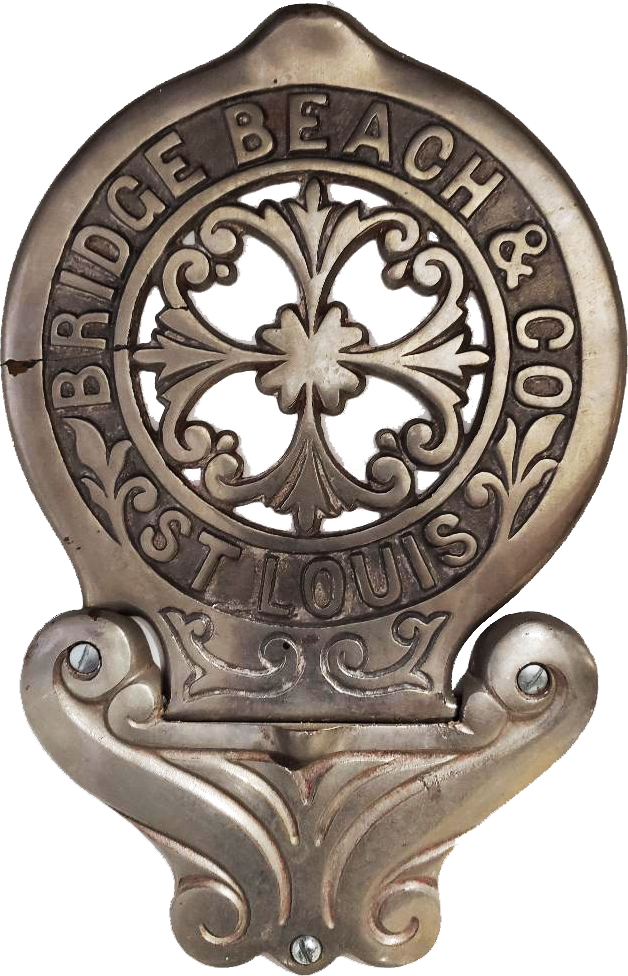
We have a reader that is seeking more info on his Bridge Beach & Co. Parlor Stove.
Such a beautiful stove. Too bad there are not more of these in existence. Or more documented history.
Follow this link for more details.
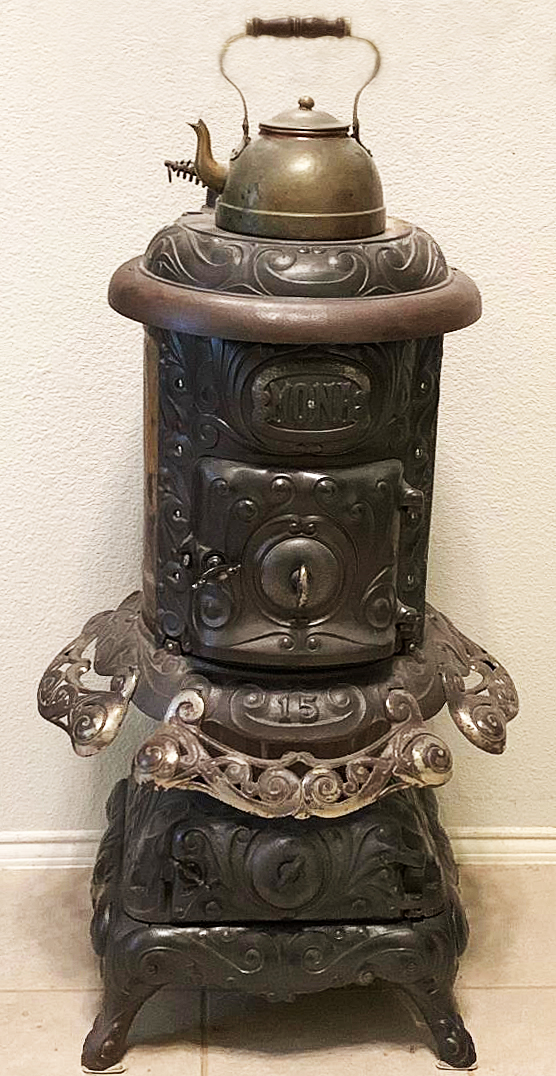
Image©Andrew Linquist
![]()
Dutch Oven & Cast Iron Cooking, Cast Iron Care & Reconditioning, Events, and Friends
We have a reader that is seeking more info on his Bridge Beach & Co. Parlor Stove.
Such a beautiful stove. Too bad there are not more of these in existence. Or more documented history.
Follow this link for more details.
![]()
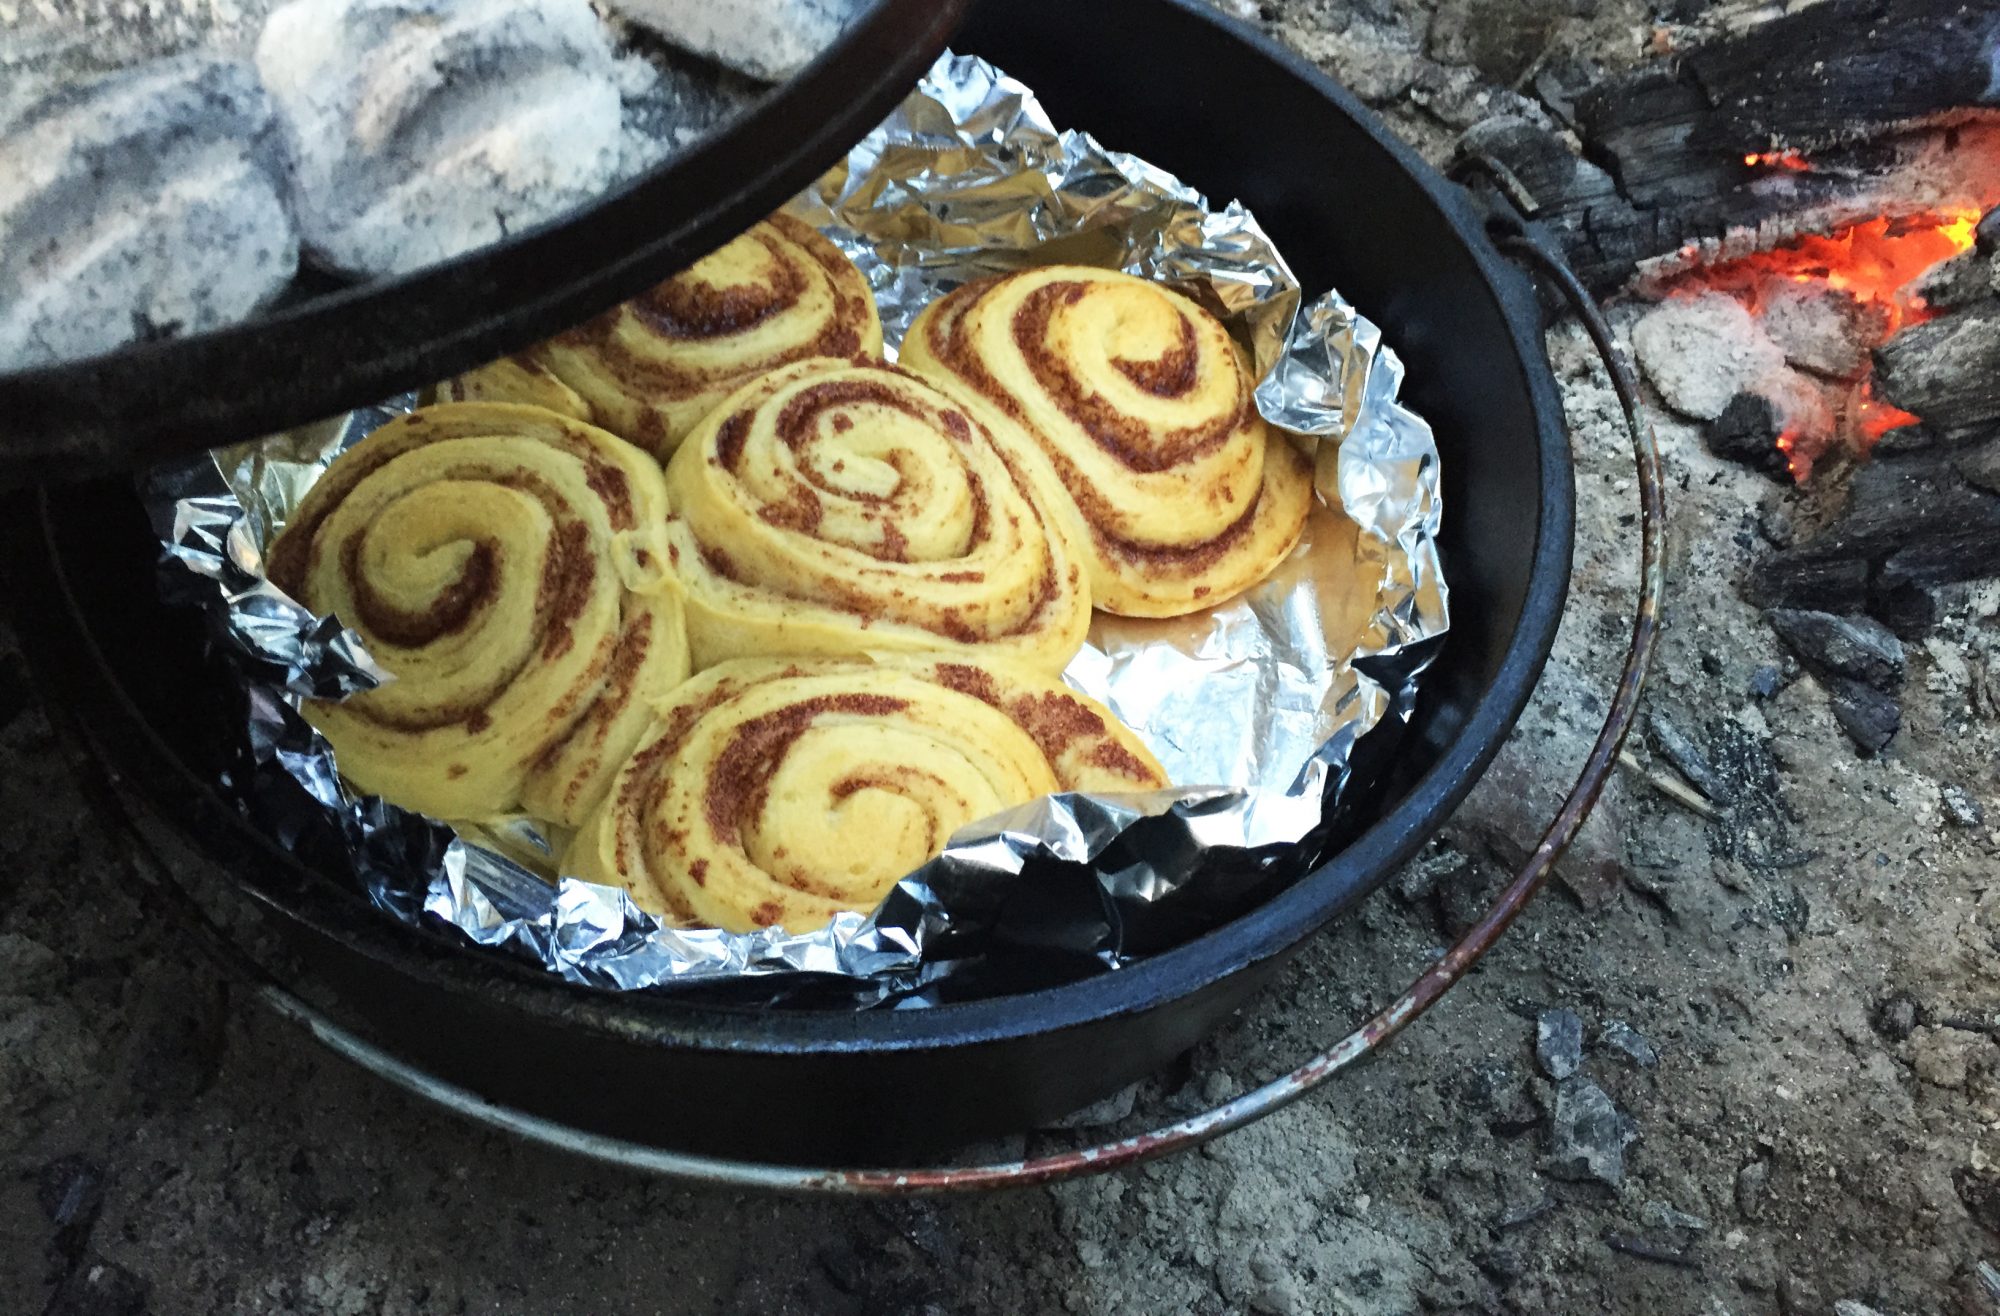
This did not come as any surprise.
The Nevada State Parks “Cathedral Gorge Annual Dutch Oven Cook-off 2020” is canceled due to Covid.
This event is always held in September. Those that have it on your schedule for 2020 need to remove it. We just received official confirmation back from a Cathedral Gorge State Park spokesperson this morning.
We will be updating our various social media locations and websites. Please spread the word to others you know may have had plans to attend, and not see this changes.
![]()
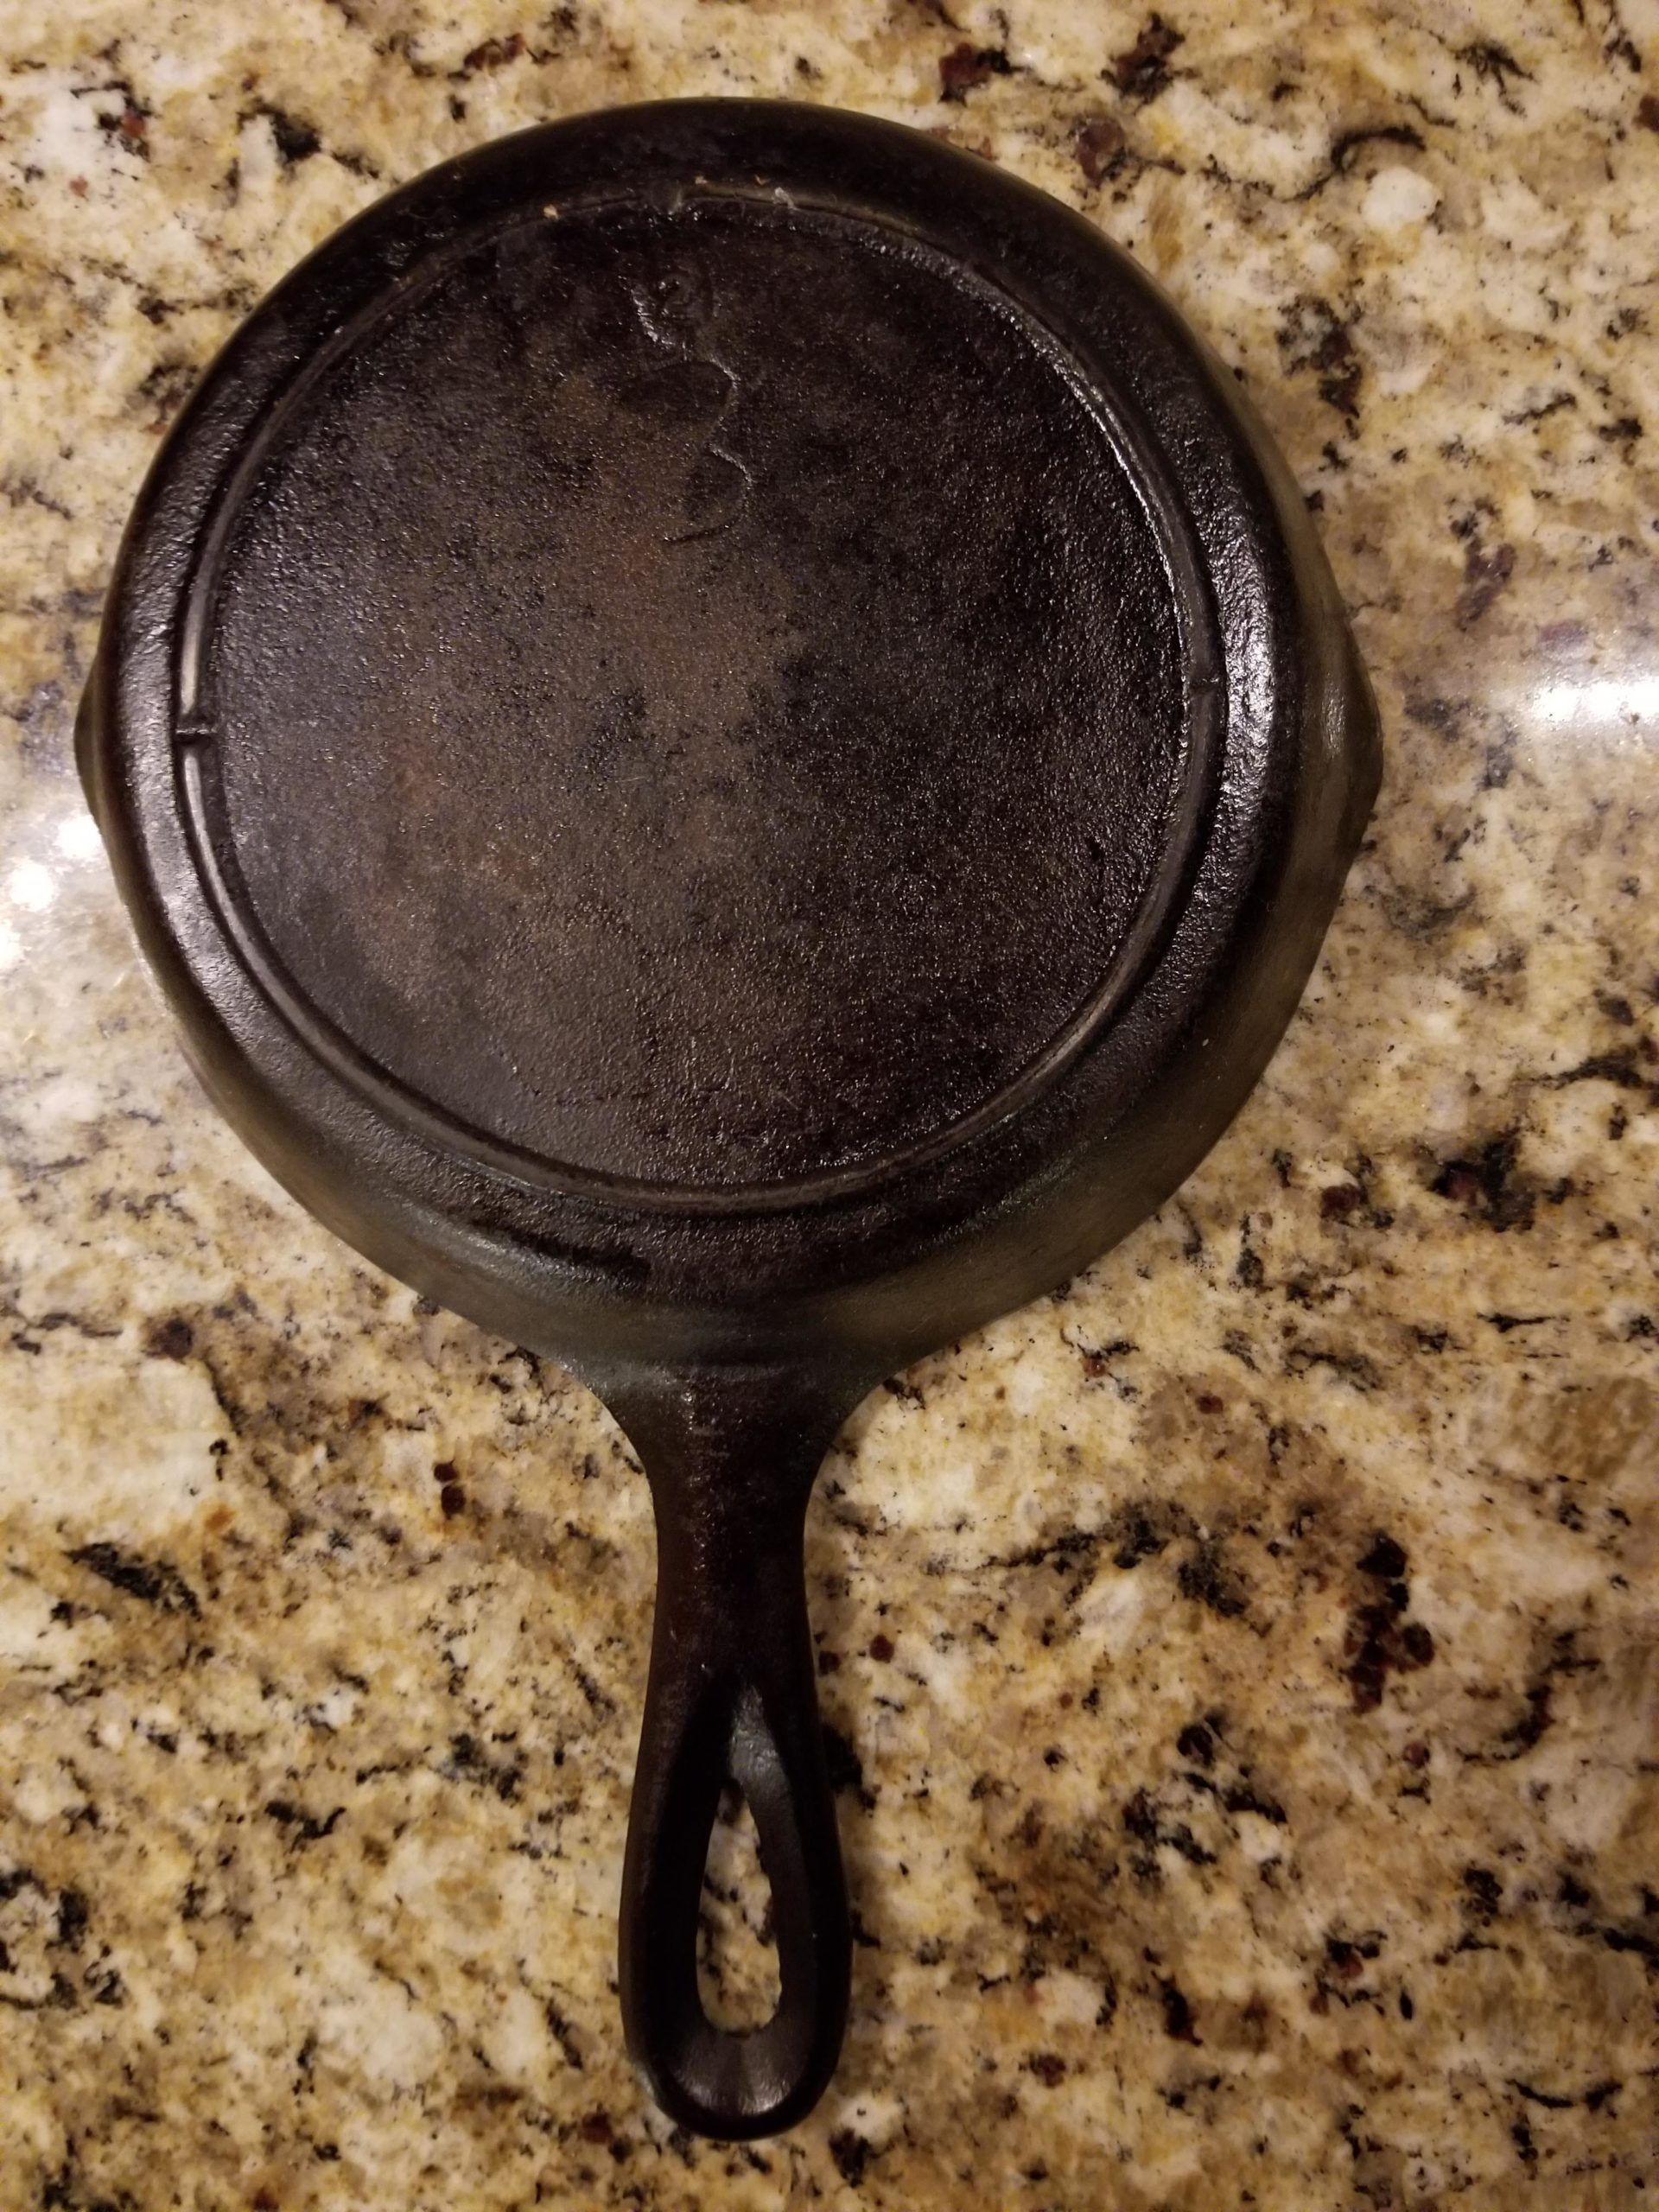
This post is a request for help in positively identifying this Skillet for one of our readers/members.
Click Link for more images and descriptive information.
![]()
Just when we thought we had seen them all, another unknown is found. We only say that with tongue in cheek because there seems to be an endless list of Cast Iron Manufacturers. It is fascinating how many existed in the late 1800’s up until the mid 1900’s.
This Hollands #9 Pot was purchased at a garage sale. Possible Circa 1890’s to Early 1900’s? This one is in very good condition. Valued at $100-$150.
For more info, photos, and the reason you need to test such finds for lead, click Link to full page on Hollands Manufacturing Co.
![]()

![]()
![]()
![]()
Vintage pieces of Cast Iron are fascinating in many ways. Especially the ones you have never seen. Or initially have no clue as to what their originally intended purpose was.
At first glance you often try to associate its function with something modern day.
This particular item had me instantly thinking of a wall mounted fold down pot shelf. Other than the fold down, and shelf, I was decades away from its actual function.
Have you seen one of these before? Did you actually know what it is? If not, you may be interested in knowing more?
Follow over to our more in depth article, including more photos at Cast Iron Warming Shelf.
![]()
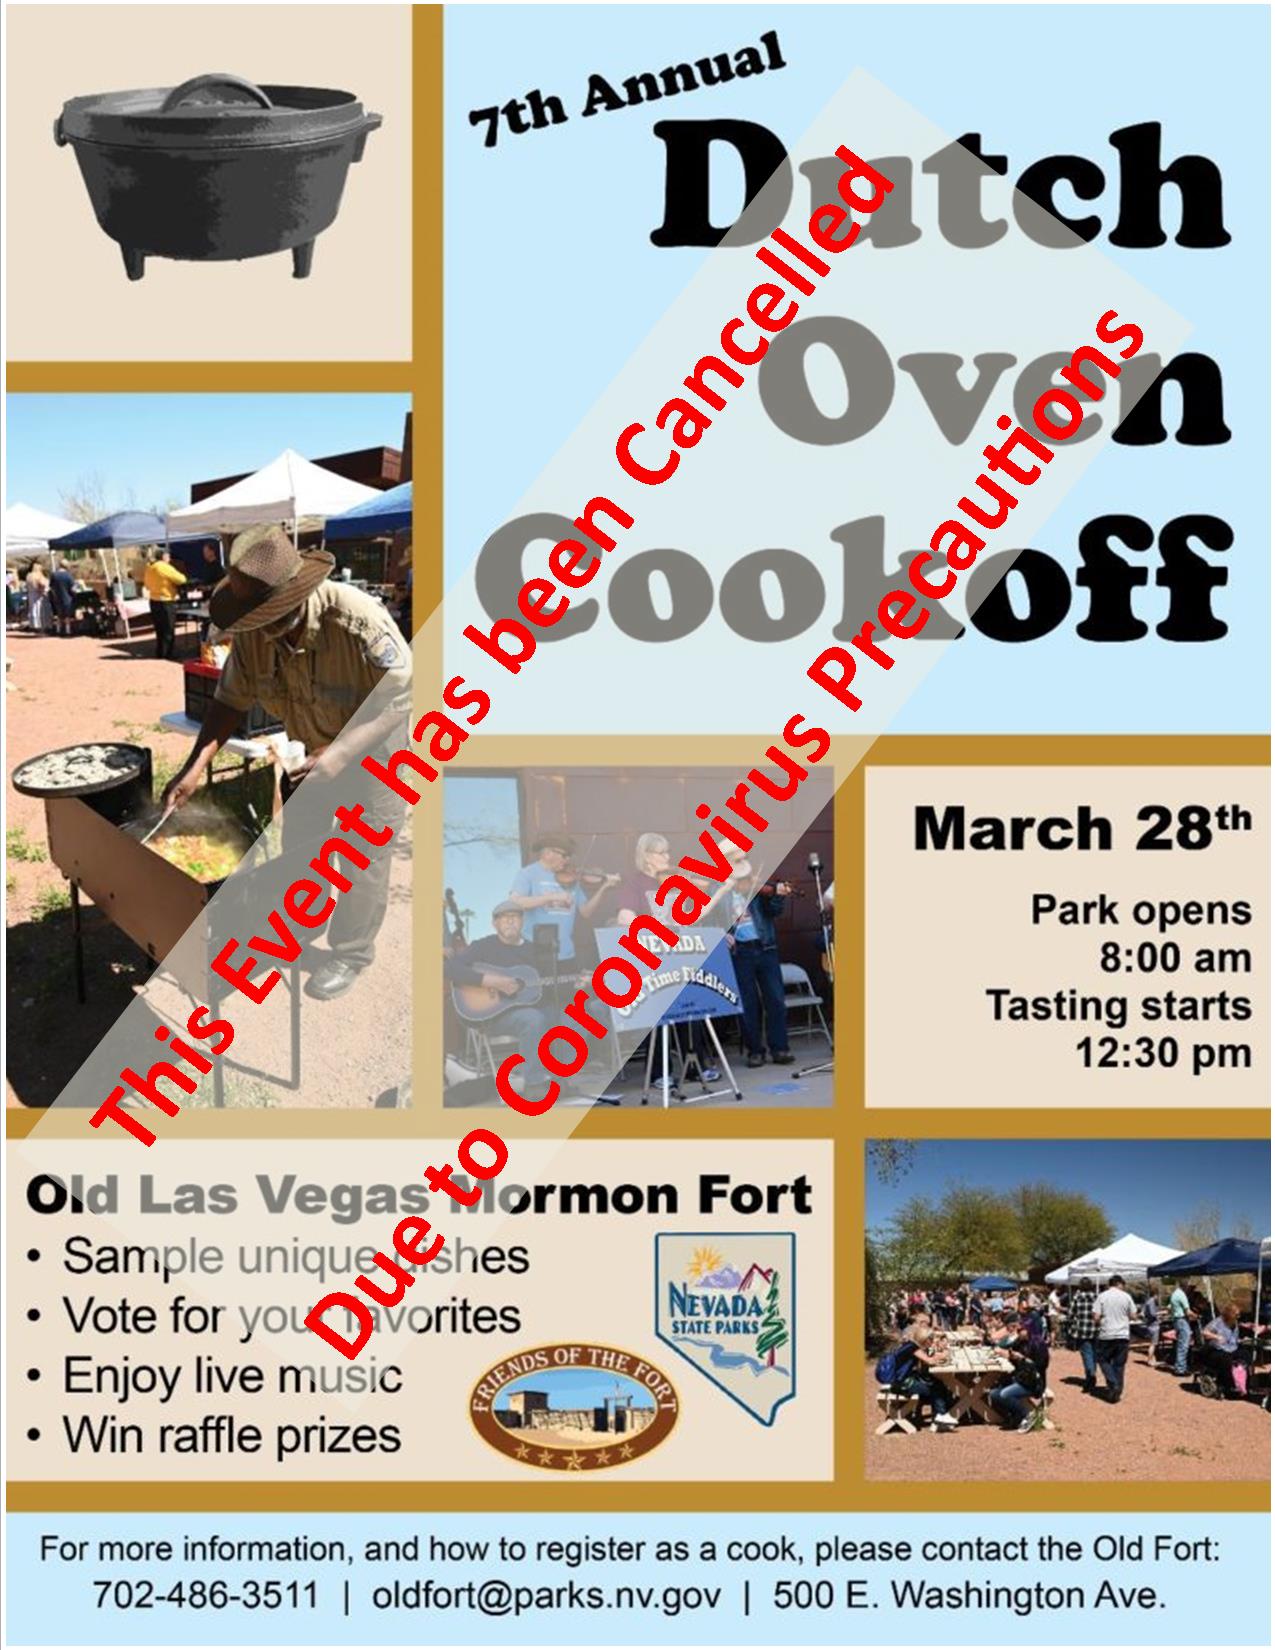
Old Las Vegas Mormon Fort
State Historic Park
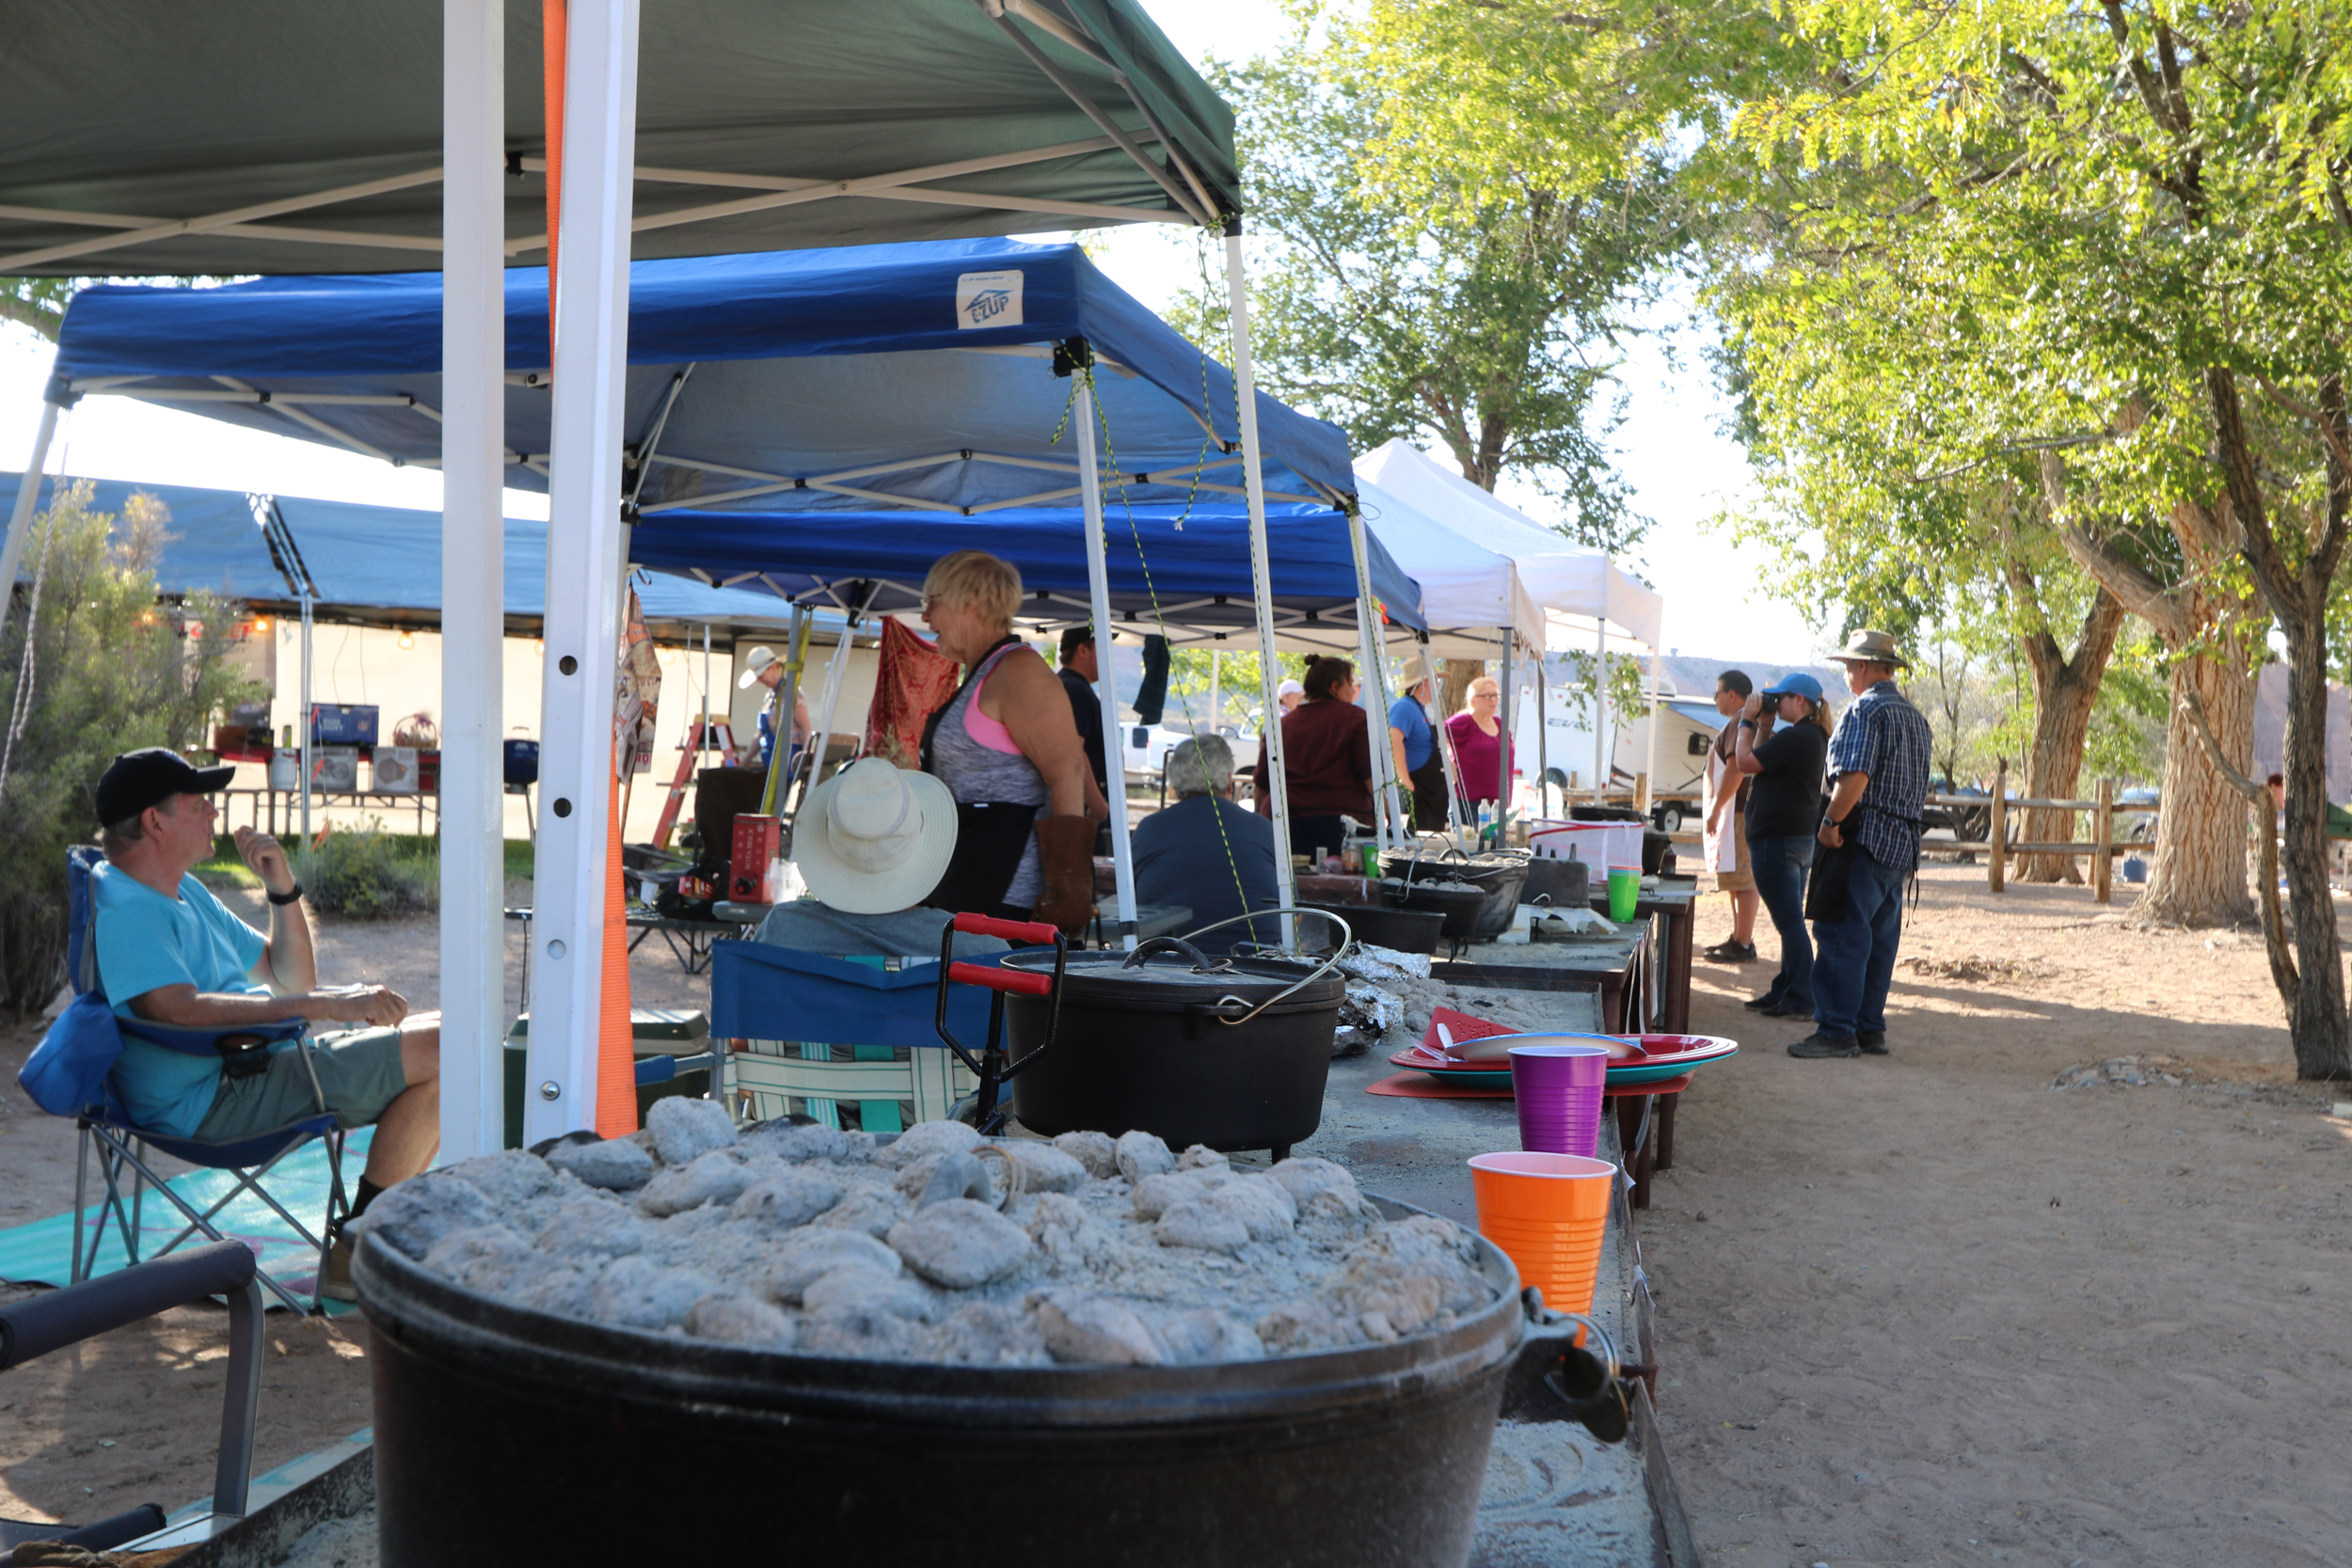
Dutch Oven Cook-Off Rules
Saturday, March 28, 2020
ELIGIBILITY: The contest is open to individuals or group cook/teams. Anyone under the age of 16 entering individually must have a parent or guardian’s signature.
ENTRY FEE: $5 per team, cash only. Fee waived with pre-registration. Participants are allowed unlimited dishes. The entry fee will be used to help fund future cook-offs, demonstrations, and other interpretive park programs. Participants have until the start of the competition to enter.
PROCEDURE: Entries fall under one of the three categories:
Entrants are responsible for providing all food items and supplies required for preparation of the entry. Entrants are also responsible for cleanup of their immediate area after cooking. Charcoal will not be provided. Participants may set up their own hot water stations if desired.
All individuals and teams participating will be required to display a sign (no larger than 8-1/2” by 11”) that states the name of their dish. If the dish is especially spicy or contains foods that many people are allergic to (such as peanuts) that information should also be included on the sign.
All cooking must be done in a Dutch oven and everything must be cooked on-site (i.e. no pre-cooked items or ingredients may be used). Participants are responsible for keeping refrigerated items cool prior to serving or mixing into the recipe.
For public health reasons, pets will not be allowed in the cooking area during the cook-off. Only those involved in preparing dishes will be allowed in the cooking area. Participants must follow proper sanitary procedures when handling food and cleaning cutting boards, mixing bowls, and any other utensils used during the preparation of the dish. Tasting of dishes (for adjusting of seasonings) should be done only with a disposable spoon.
SCHEDULE: The event schedule will be as follows:
8:00am: Park opens, participants may enter and begin setting up.
12:30pm: Tasting and voting begins
1:00 – 1:30pm: Winners will be announced
4:30pm: Park closes.
AWARDS PROCESS: Awards will be given to the top three dishes in each of the three categories. Award winners will be decided by a panel of three judges. Each category will also have a popular vote winner. Event attendees will have one vote to cast per dish category.
While this is a competition, everyone’s goal should be to have fun and learn some new recipes and techniques!
Contact us using one of the following, to obtain an Entry Form. Entry forms may be submitted one of three ways:
Email:
cfehner@parks.nv.gov
OldFort@parks.nv.vom
Mail:
Old Las Vegas Mormon Fort State Historic Park
500 E Washington Ave
Las Vegas, NV 89101
In Person at:
Old Las Vegas Mormon Fort State Historic Park
500 E Washington Ave
Las Vegas, NV 89101
Website Old Las Vegas Mormon Fort
![]()
![]()