PERFECT SIZE FOR TWO

How many of you have multiple pieces of Cast Iron Cookware? I certainly have way too big of a collection. Probably borderline hoarder? Actually, no “probably” about it. LOL!

From Skillets to Dutch Ovens, to other iron in between. They are meant to be used and not just sit on the shelf. I try to put many of them to real use from time to time.

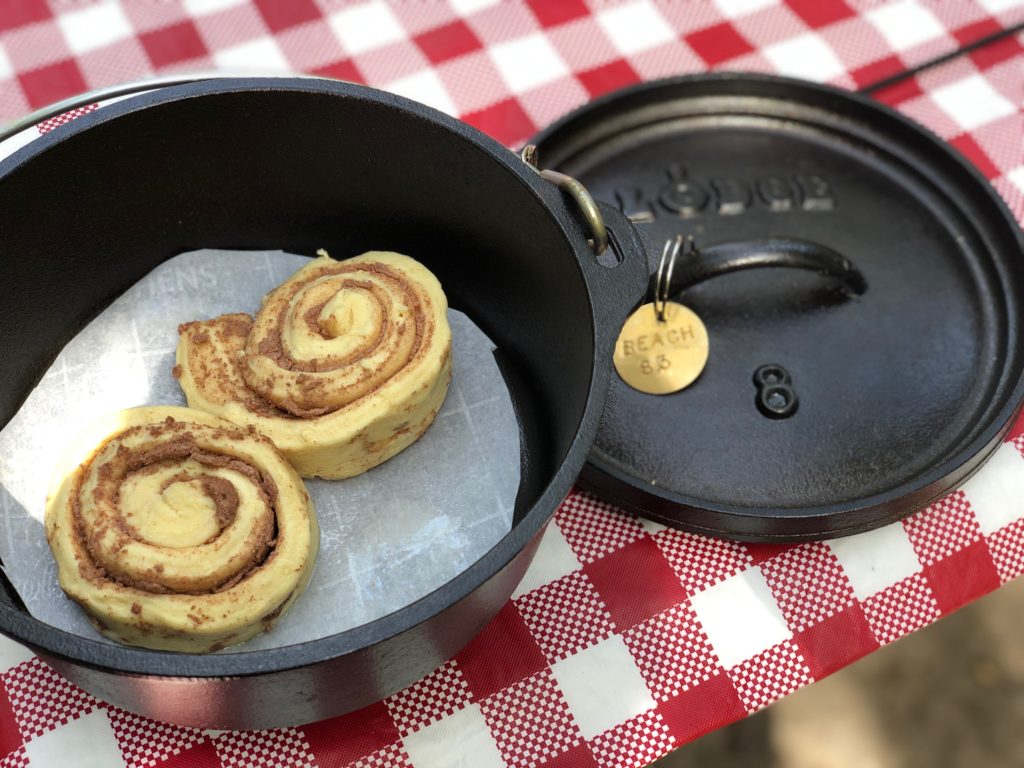
Often times I find myself returning to my #8 Cast Iron Dutch Ovens. I have three of the more modern Lodge in this size.

I find them perfectly sized when cooking for two people….perhaps even large enough for four depending on what you cook or bake. No need to waste expensive charcoal. Most things can be baked or cooked with 15-16 properly arranged briquets.

See our thoughts on Heat Management or Coal Counting.

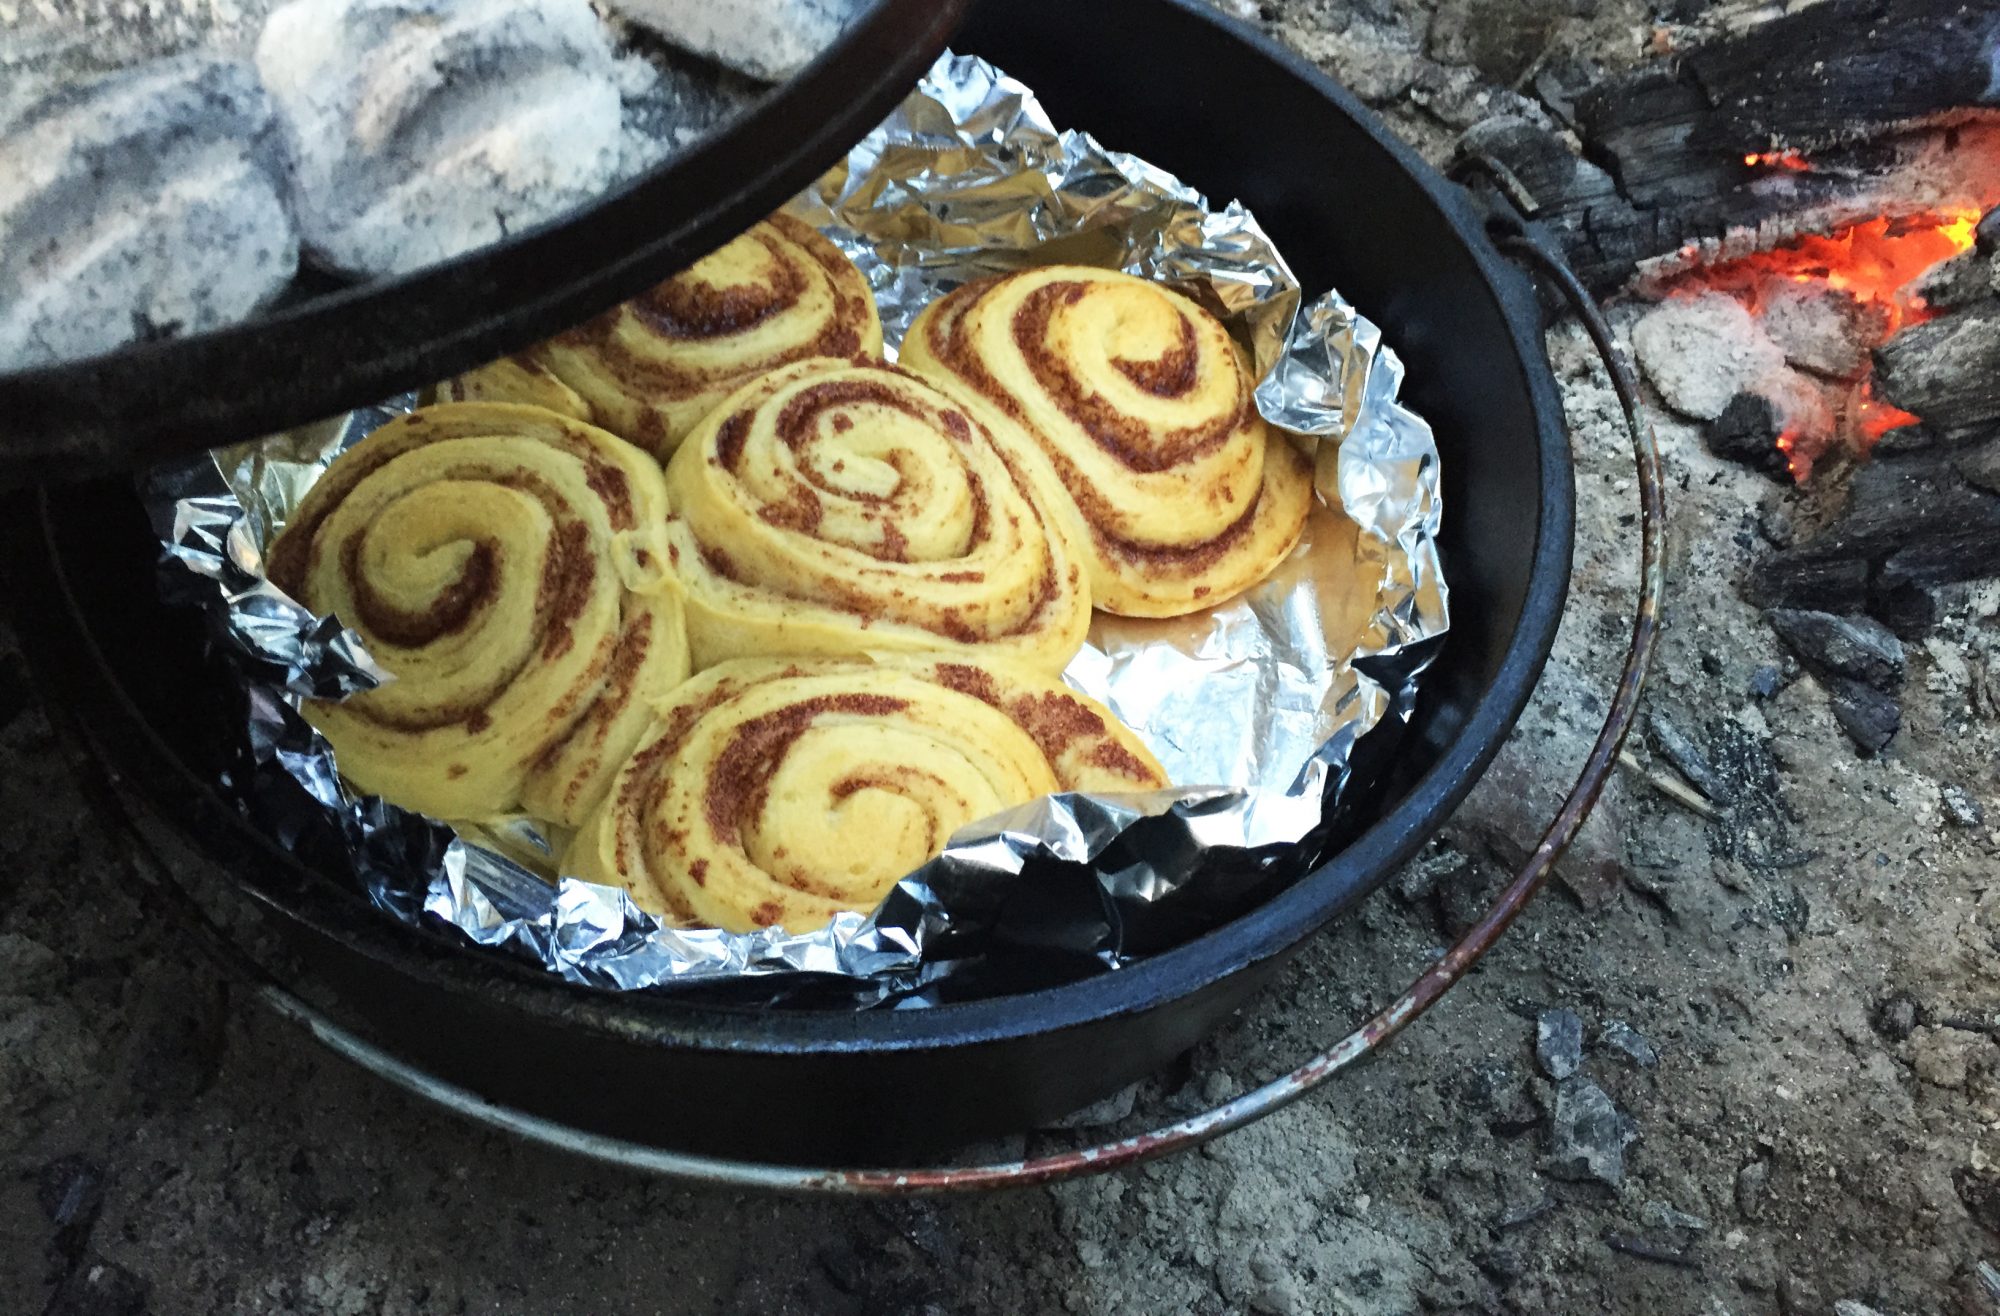
I find the 8 inch Dutch Ovens especially ideal for camping. While their larger cousins are great for competition cooking, large pot-luck’s, or cooking/baking for more people or a larger than two family. My go to Dutch Oven for camping trips is my 8 inch. The smaller size makes their weight insignificant.

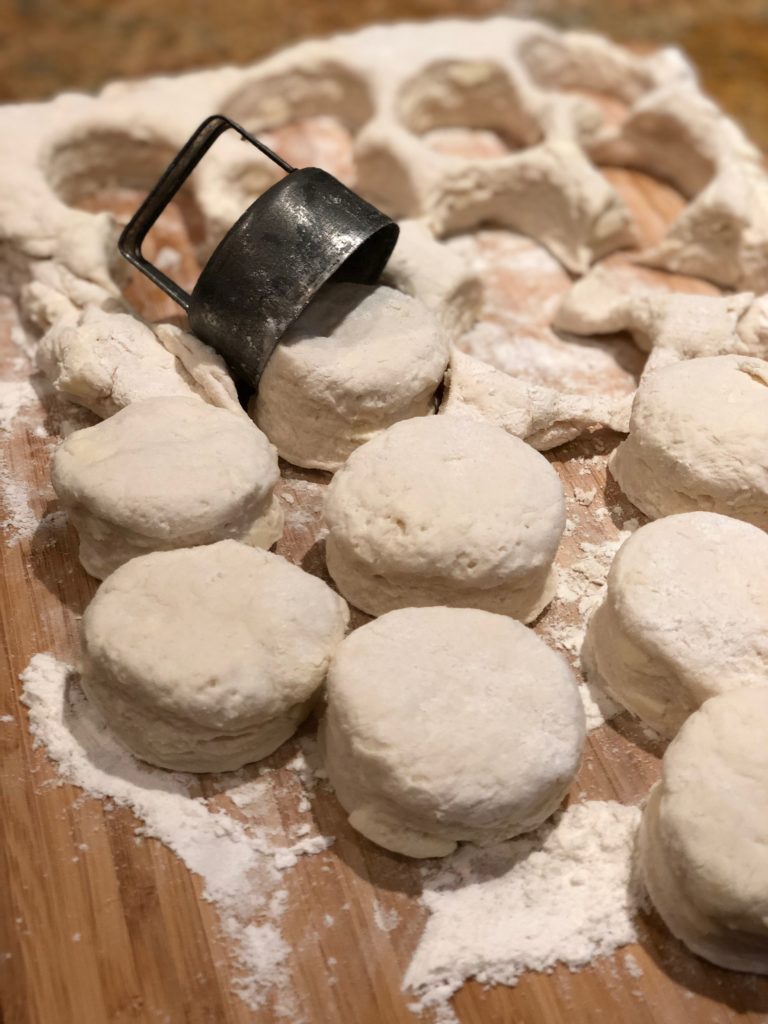
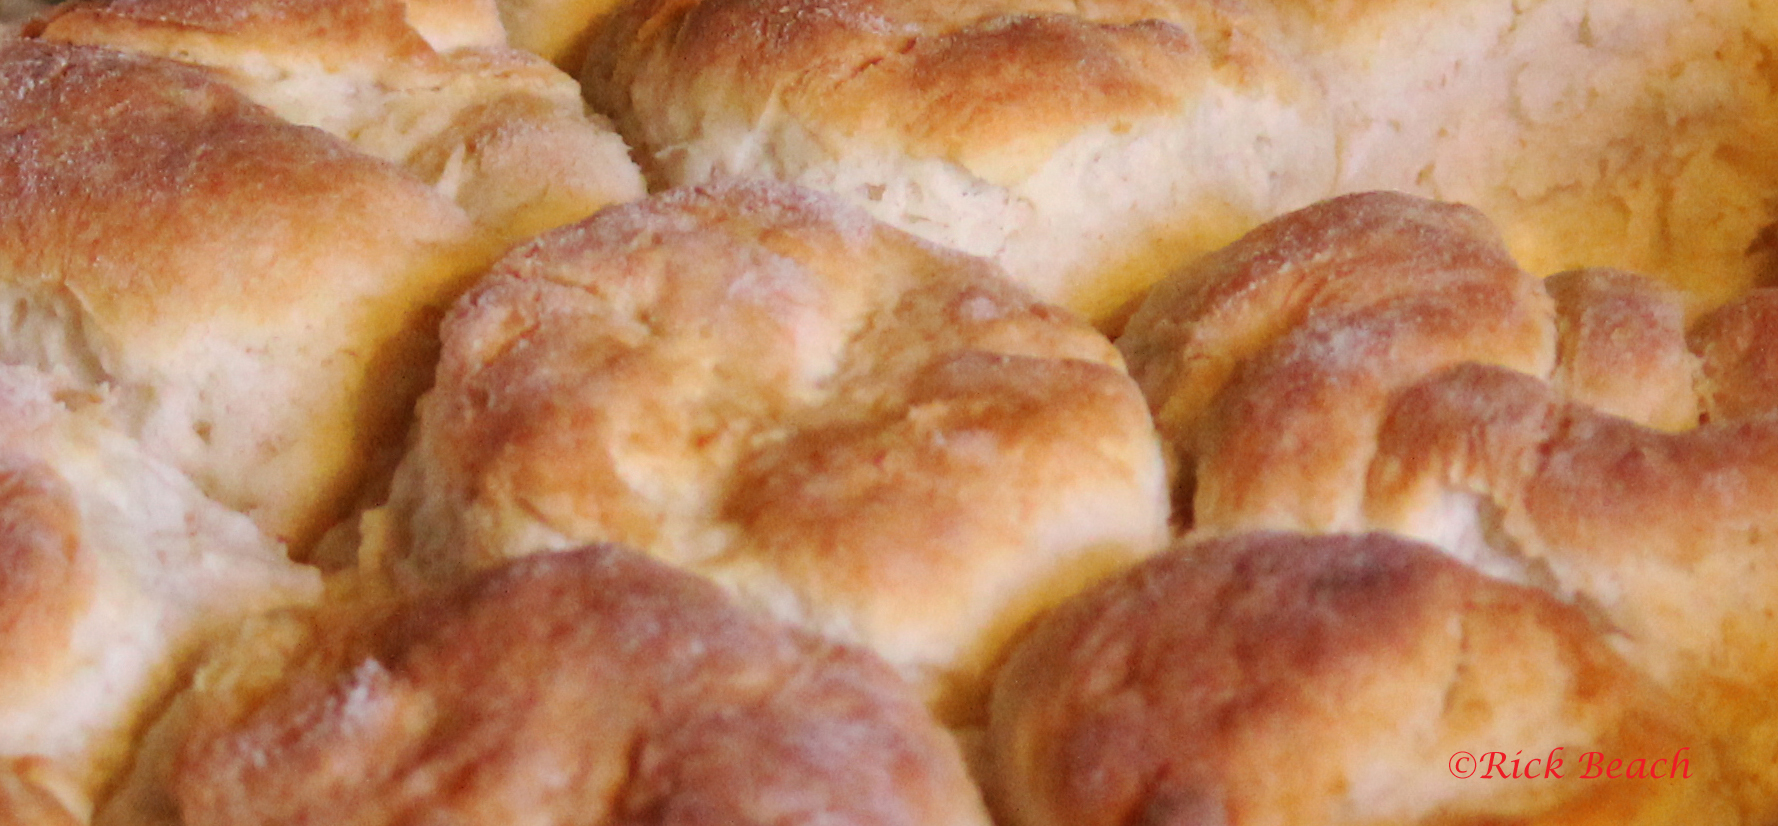
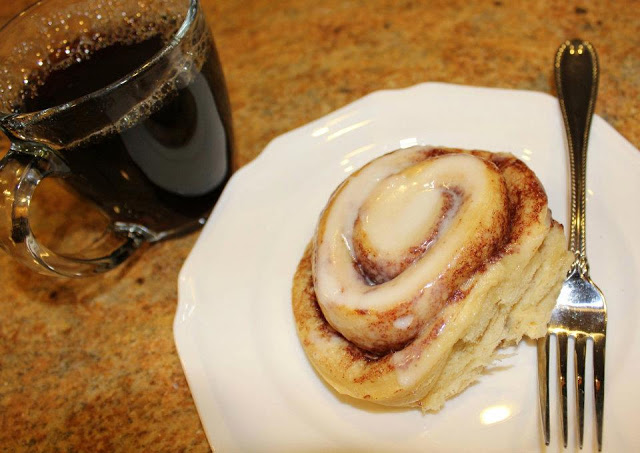
These are great for a small batch of morning biscuits or pastries. Able to produce those hot and fresh goodies while waking up to some fresh coffee. If you want a full blown breakfast, bake up a Dutch Oven Mountain Man Breakfast.

Our Cinnamon Roll Recipe

Our Homemade Buttermilk Biscuit Recipe

Loading

A Biscuit kind of morning

Some cold mornings you just have to reach for the buttermilk, real butter, and just be Bad!

Real old fashioned biscuit making is a lost art in many families. A generation away it was common. “Canned” biscuits are something more recent.

If you have never had real homemade biscuits you are really missing a delightful breakfast addition. Fresh and warm just out of your oven, they can’t be beat.

Its even more fun if you have vintage biscuit cutters and bake these in a cast iron Dutch Oven using charcoal or wood coals.

Click this Link for Recipe and helpful techniques.

Loading

BISCUITS – OLD FASHION BUTTERMILK RECIPE


BISCUITS - OLD FASHION BUTTERMILK RECIPE

Prep Time 15 minutes
Cook Time 14 minutes
Total Time 29 minutes
Servings 12 Biscuits

Ingredients
  

  • 3 Cups Flour
  • 3 tsp Baking Powder
  • 1 tsp Salt
  • 3/4 tsp Baking Soda
  • 1/2 Cup Butter Shaved Frozen or real cold
  • 1 3/4 to 2 1/2 Cups Buttermilk Real cold (start with 1 3/4 Cups)

Instructions
 

  • We recommend not substituting the real Buttermilk with an alternative.
    Not even powered Buttermilk.
    Do not make with regular milk, adding lemon juice or vinegar to regular milk, etc., While that is an acceptable alternative in recipes with sugar or sweet. It is not recommended for biscuits.
    If your baked biscuits seem dry or clunky increase the Buttermilk slightly until you know the perfect mix for your area and oven.
  • There is a definite knack to baking light and fluffy biscuits. A couple of secrets to good biscuits is very cold Butter and Buttermilk, not mixing the dough much, and folding and patting the dough several times. Probably a wetter mix than you would imagine if your biscuits don't come out right.
  • Properly mixed biscuit dough almost looks like it hasn’t been mixed all the way. The other secret is a very moist mix. Sticky, requiring a floured board and floured hands to handle.
  • Never use an electric mixer or dough machine when mixing up biscuits. Use a fork, and use it as little as possible.
  • Also old stale Baking Powder (opened and on the shelf for awhile) looses its ability to create the bubbles required to raise good light biscuits. Pitch the old stuff and use fresh.
  • Mix your dry ingredients together with a wire whisk.
  • Shave cold butter with a potato peeler or other type of cutter. Or chop frozen. Keep butter very cold until ready to mix in.
  • Then stir in the cold shaved butter into the mixed dry ingredients. Alternatively if your chunks are big you can “cut it in" into the dry ingredients using a shortening cutting tool, made for that, or two knives. All pieces should be pea size or less. Mix in the first 1 3/4 cup of Buttermilk gently (Do not over mix) using a fork. If dry add more in small amounts until dough is almost too sticky to handle (flour your hands)
  • The buttermilk in this recipe is part of the leavening (makes the bubbles) The acidity of the Buttermilk reacts with the Baking Powder & Soda. Don’t substitute the buttermilk with something else for this ingredient if you are new to making biscuits.
  • The dough should be sticky. Probably more sticky than you think. Mixing the ingredients too much, or too dry is the killer of soft and fluffy biscuits. Plop the sticky dough out on an extremely well floured bread board.
  • Flour your hands. Don’t roll dough out, but pat or gently flatten with your well floured hands (about 1 1/2 inch thick. Fold the dough in half over on itself and gently pat the dough to 1 1/2 inch thick. Repeat the fold and pat two more times.
  • Preheat a regular oven to 400 degrees. (Dutch Oven Coals for 400°F-Don’t pre-heat the Dutch Oven)
  • Cut rounds with biscuit cutter or top of a small drinking glass, can, etc.
  • Place biscuit rounds on a cookie sheet or into the bottom of the Dutch Oven up against one another. Closely placed biscuits will also be much more moist when done. Biscuits placed next to each other will rise much higher than those placed with gaps between them. Cover with a towel and let the biscuits rest for 10 to 15 minutes before putting them in the oven, or putting the heat to the Dutch Oven.
  • In a regular kitchen oven Bake 14 to 18 minutes or until golden brown on top. If Baking using charcoal in a covered Dutch Oven, it is also 14-18 minutes or until tops are golden brown.
  • It is assumed you know proper coal/heat techniques for Dutch Oven baking
  • Click this link below in Recipe Notes if you need help with Dutch Oven Coal counting? We prefer the 3 uppy-down rule!
  • Serve hot with butter, jam, gravy, etc.

Notes

Additional Dutch Oven Baking Tips & Techniques   COAL COUNTING & HEAT MANAGEMENT
Make your own "Probiotic" rich BUTTERMILK

Loading