Did you know?
Buttermilk of “Yester-Year” was originally a left over by-product. The liquid left after skimming or separating out the butter cream from raw whole milk. The remaining watery fluid water was allowed to ferment naturally forming a thin, sweet yet tart, “Buttermilk”.
 Today traditional Buttermilk is prepared by adding living bacteria cultures to pasteurized fat free or low-fat milk. This gives buttermilk its rich and creamy texture, and today is labeled “Cultured” Buttermilk.
The fat content of Buttermilk is just the opposite of what its name implies. One cup of Buttermilk contains 2.2 grams of fat, and about 100 calories. Compared to regular milk, that contains 8.9 grams of fat and 157 calories.
The “good” bacteria in Buttermilk is similar to those that produce yogurt. True Buttermilk (Not pasteurized) is one of the pro-biotic foods that contain living microorganisms. The friendly bacteria that protects the body from many diseases by improving the general immunity of the body.
The last time I checked several stores including health food stores, I could not find true Buttermilk prepared the traditional way. Those containing those living powerful probiotic microbes sometimes referred to as “Grandma’s Probiotic”. In some states, laws surrounding Pasteurization may prevail. This could be nation wide at this point? Pasteurization of milk products heats the product to kill off all bacteria.
Commercially available buttermilk has been pasteurized and homogenized. To produce commercial Buttermilk the processed milk is then inoculated with a culture of Lactococcus Lactic and other additives to simulate the nature ingredients in the “Old Fashioned” real stuff. Some commercial dairies even add colored flecks to simulate pieces of butter that real Buttermilk used to contain.
The acidity and sweetness of traditional buttermilk has been used in recipes for years. Buttermilk is commonly used in breads and biscuits to name just a few.
Using Buttermilk along with baking soda provides an effective leavening agent. It’s the magic ingredient that produces those old fashioned light and fluffy biscuits, breads, and pancakes or flap jacks. Many old recipes you might find your grandmother or mother had, would call for Buttermilk. Now you know it was partially a way to use up a by-product and not waste it. And oddly today we are finding out it was much more healthy too.
——————————
Do you want to make your own real stuff? Create your own pro-biotics? Kind of like sourdough starter mix in which you keep a perpetual batch going. Follow this simple method. I am not sure this is truly as beneficial as the old fashioned real, un-pasteurized buttermilk of years ago. But this is fun to make. It is great to keep a batch on hand in the fridge for baking.
To make a quart of real buttermilk:
6 to 8 ounces of Store bought Cultured “Active” Buttermilk. Make sure it is labeled “Live” or “Active Cultures” We will provide the method below combining “active” Buttermilk.
We will also show an alternative method of combining “active” Sour Cream to pasteurized milk.
You may have to find these items in a health food store. Pasteurized products normally are dead (Bacteria killed off).
Make sure the buttermilk or sour cream container does not say pasteurized. If it is pasteurized make sure it is marked “Live” or “Active Cultures”.
It will still make a starter as long as it says “Live” or “Active Cultures”. If it was pasteurized, then you can be sure it has the additive type bacteria discussed above.
Other methods would be to obtain whole milk from a local farmer. Let it sour. (we are not covering that process)
Additionally freeze dried cultures are available via the internet for purchase. But these freeze dried cultures are not the real deal either. They are most likely the type added commercially to pasteurized milk. (we are not covering that process either)
——————————
3 Cups of Milk (Skim, 2% or Whole) + 6-8 ounces of “Active” Butter Milk (Multiply as needed)
*In a clean quart jar mix the 3 cups of milk and 6-8 ounces of “Active” Buttermilk
*Cap the jar and shake to mix
*Let stand at room temperature for 24 hours with the lid on
*Taste test. It should be tart and cling to the sides of the glass jar. Refrigerate at this point. Bring to room temperature to add to recipes.
*If not tart or thickened leave it at room temperature for another 12 hours (36 hrs total)
*If it is still not tart you may not have used “active culture” buttermilk or your culture died off.
*Save back 8 ounces of a good batch to start your next batch with 3 new cups of regular milk for your next recipes.
——————————
Note: I could not find buttermilk marked “Live” even at our area health food stores. I did find Sour Cream that said it contained “Live and Active Cultures”. Since you can make Sour Cream using this method I assumed Sour Cream would be backward compatible to be used as a starter. So below is yet another recipe. My first batch stood for 36 hrs. At 24 hrs it was too thin. At 36 it was rather thick nearly yogurt consistency. So next time I will check a little sooner. But it was great tasting!
1/2 Cup Sour Cream marked it contains “Live and Active Cultures” “Horizon brand Organic – pasteurized but marked contains “Live and Active Cultures”
1/2 Gal Milk (Regular, 2%, or skim)
*In a clean 2 quart glass container mix the 3 cups of milk and 6-8 ounces of buttermilk
*Cap and shake to mix
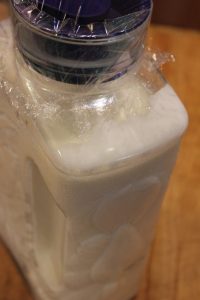
*Let stand at room temperature for 24 hours with the lid on (I seal mine with plastic wrap and a rubber band.
*Taste test. It should be tart and cling to the sides of the glass jar. Refrigerate at this point. Bring to room temperature to add to recipes.
*If not tart or thickened leave it at room temperature for another 12 hours (36 hrs total).
*If it is still not tart you may not have used “active culture” buttermilk or your culture died off.
Save back 8 ounces of a good batch of Buttermilk to start your next batch with 3 new cups of regular milk.
——————————
Bonus Recipe. To make Sour Cream, start with whole cream instead of milk. Follow the same process for making real buttermilk, using your preferred starter.
——————————
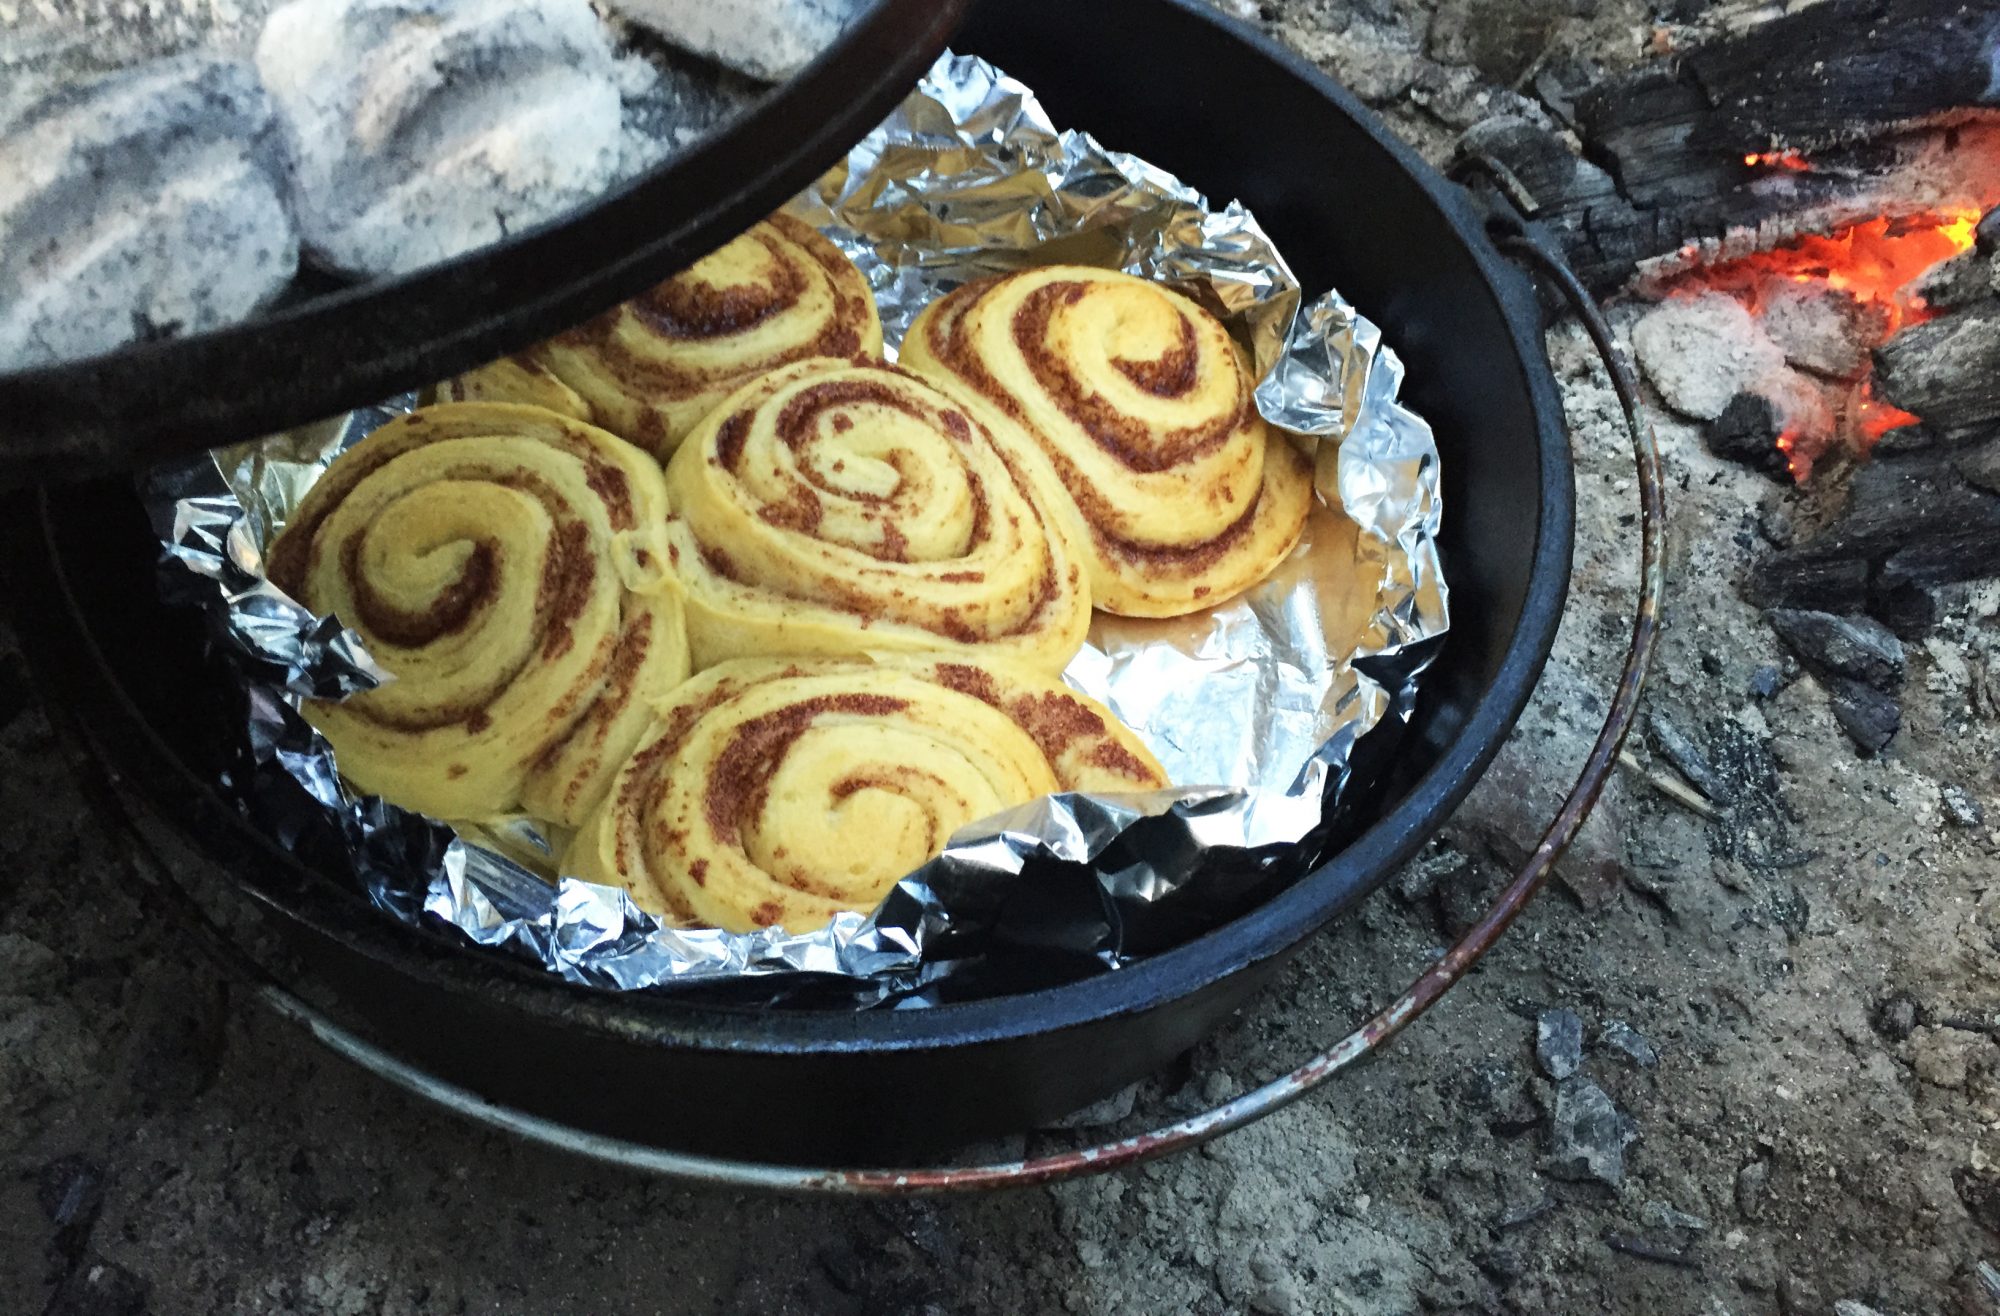
Our first test batch was used to make some homemade Buttermilk biscuits….Oh yeah! They turned out light and fluffy. Yum!
If you are baking and find you don’t have Buttermilk in your fridge, don’t despair. You can still get the taste by cheating a little and creating your own batch that will work in a pinch. You just won’t get all the benefits of the Probiotics of real Buttermilk.
To make one cup of substitute Buttermilk for use in recipes:
1 Tbsp White Vinegar or Fresh Lemon Juice
1 Cup Milk (2% or nonfat)
Place the vinegar in a glass measuring cup. Then add enough milk to the vinegar to equal 1 cup of total liquid. Stir and let stand for 10 to 15 minutes until the mixture curdles. The acid in the Vinegar or lemon juice does its work.
Make a large enough batch to use in recipes calling for buttermilk quantities. Cover and refrigerate any unused portion.
![]()
