

Basil Basics bridges the love of Cooking, Cast Iron, Garage Sales, and the general love of the outdoors. Growing, harvesting, and cooking with fresh Basil.
How how in the world does a Garage Sale fit in, you might wonder? Many that enjoy the outdoors find themselves visiting Garage Sales and Flea Markets. Finding odd and inexpensive flower pots. Or perhaps you just pass them by not thinking of potential uses. Garage sales and flower pots just naturally blends into this subject. Growing basil is an inexpensive way to fill your pots with something alive, green, and useful.
Cooking, and more specifically, cooking in cast iron is an added benefit. Especially when you have fresh organic ingredients to use.
Basil is one of the easiest spices to grow. To many this is nothing new. To others, the following information might be quite enlightening.
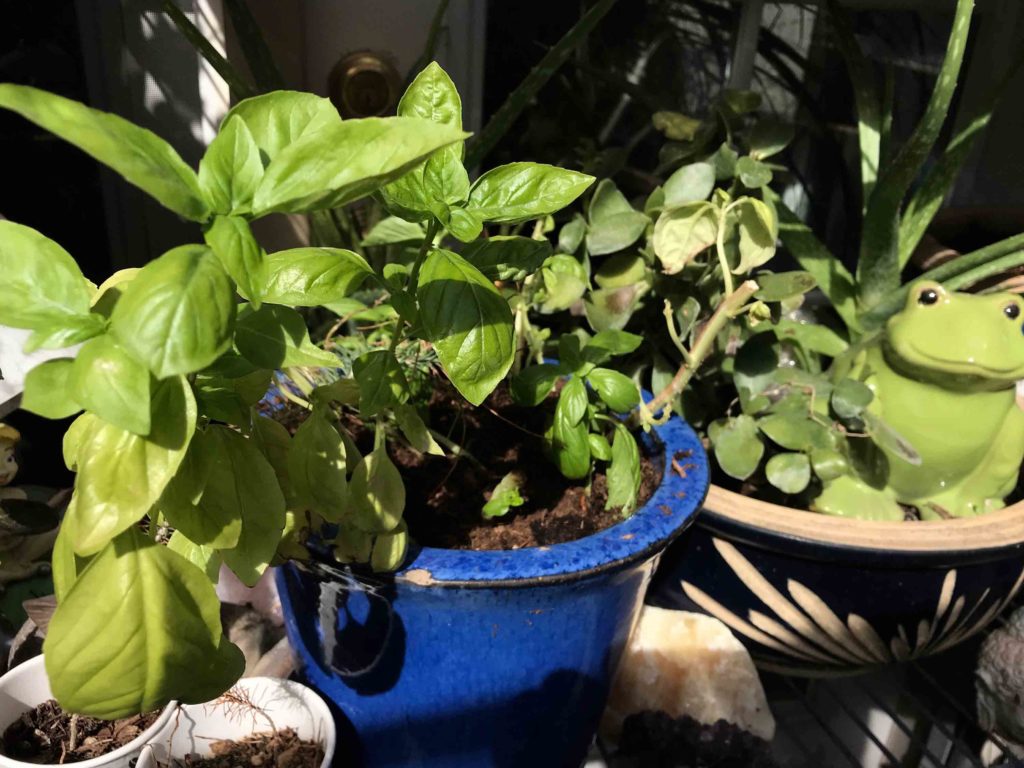
You can start with seed, but that is a much slower start. An inexpensive way to cheat is to purchase a live potted Basil plant from your grocery store or nursery. They are often $3 or less. One plant will make many! Or you can transplant the whole plant to one of your pots.
With a purchased potted plant you have the advantage of smelling it, and test cooking with it to guarantee it is the variety you prefer. If you don’t know where to start, we suggest selecting a Sweet Basil.
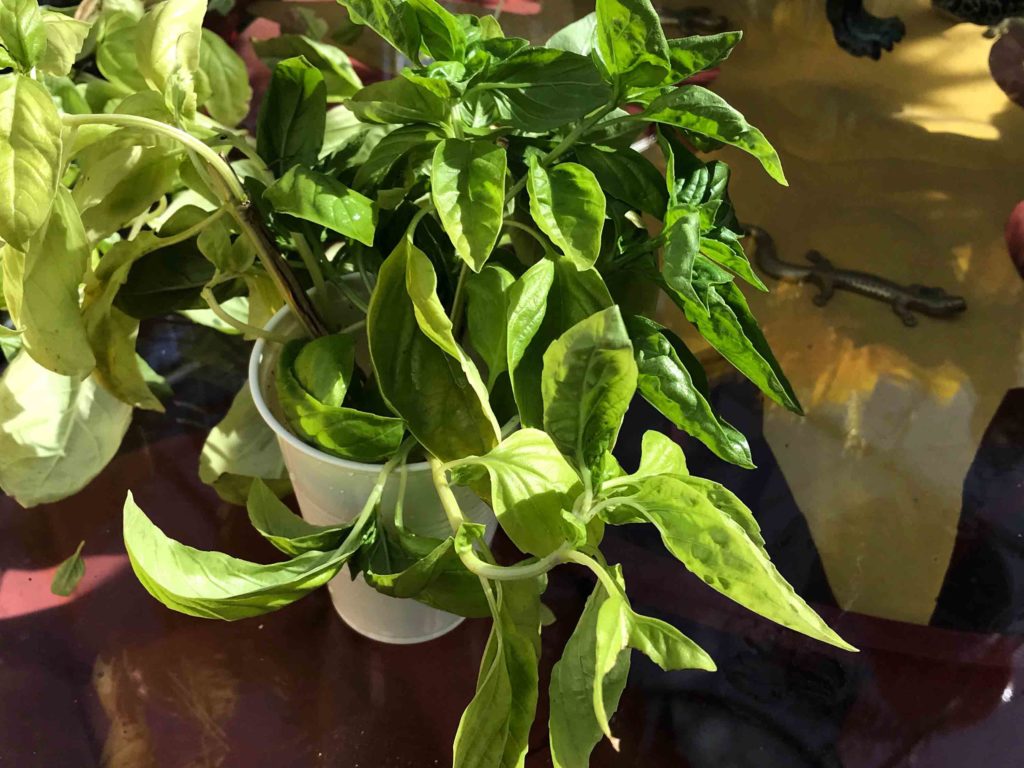
Once you have your preferred live potted plant, you can take several cuttings. Be sure to leave some leaves on the donor plant. Pot the donor plant in good potting soil and water to keep the soil moist.
The donor plant will soon start creating new leaves. Leaves and cuttings can be harvested again in a very short time.
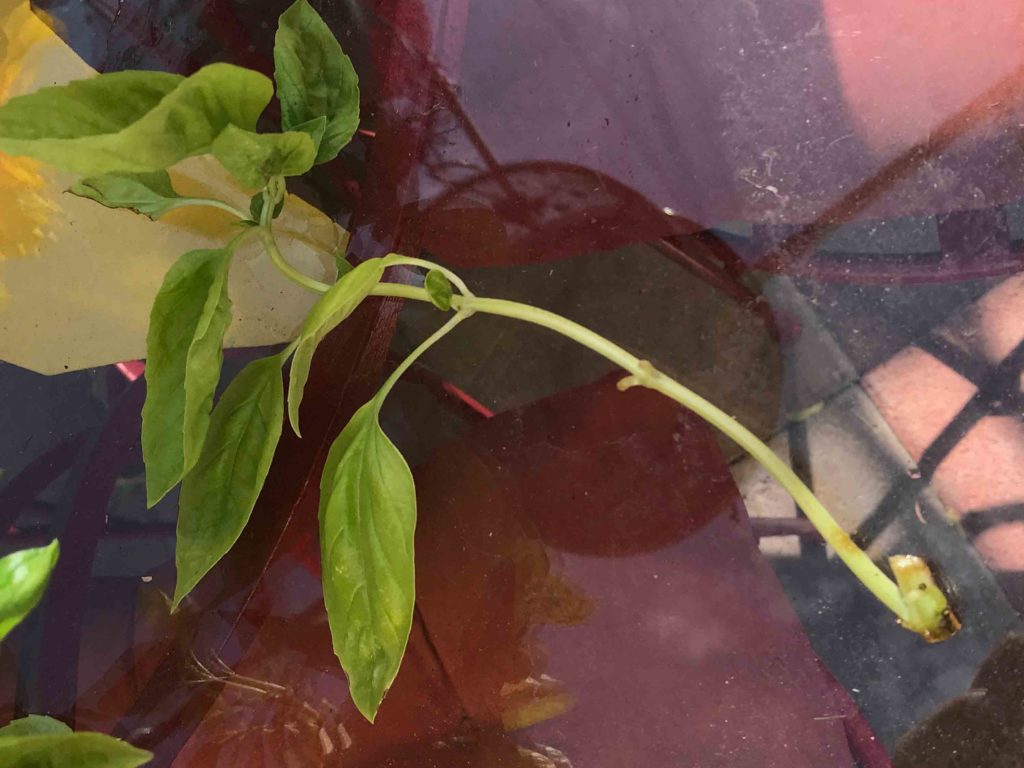
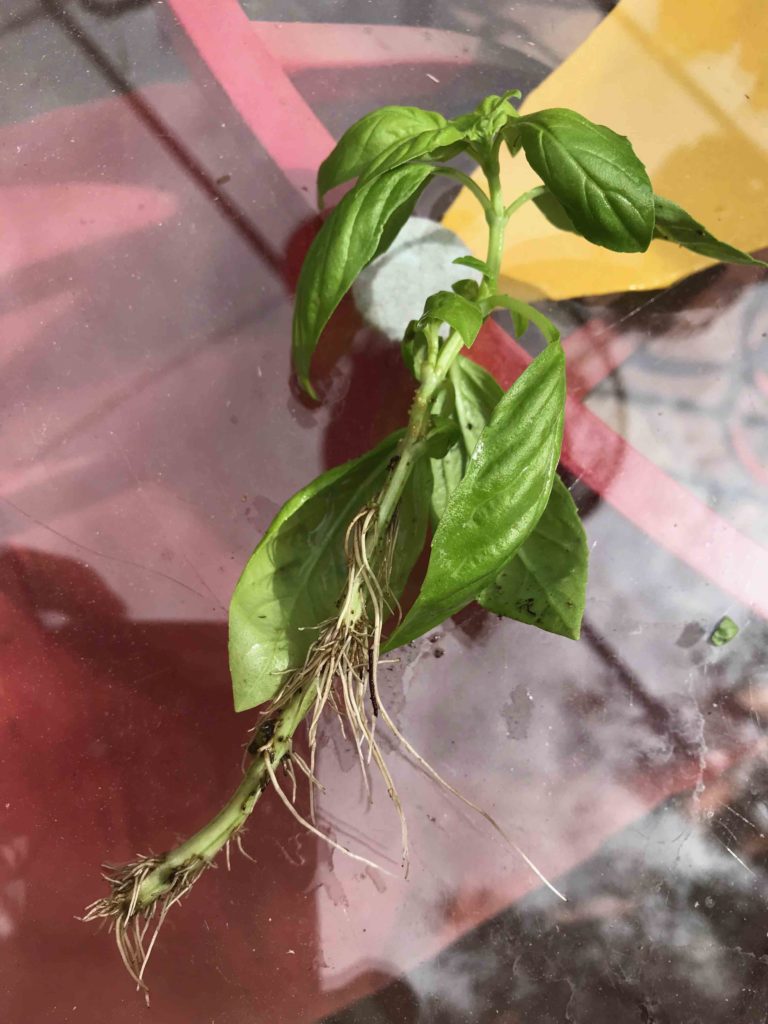
The cuttings you take [4-6 inches long], are to create new plants. Trim the lower leaves, clipping the leaf off near the stem. Preferably you have at least one trimmed leaf joint remaining [For you crossword puzzle lovers, some refer to that joint as the “Axil” or “Petiole”]. That trimmed joint is submerged in water.
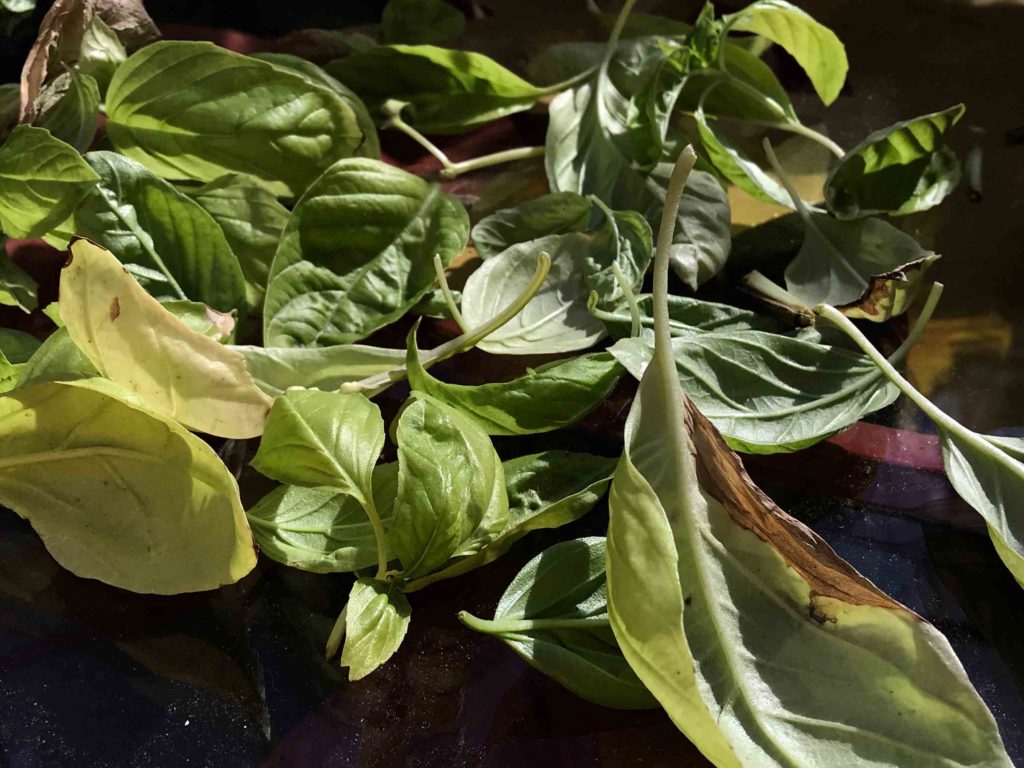
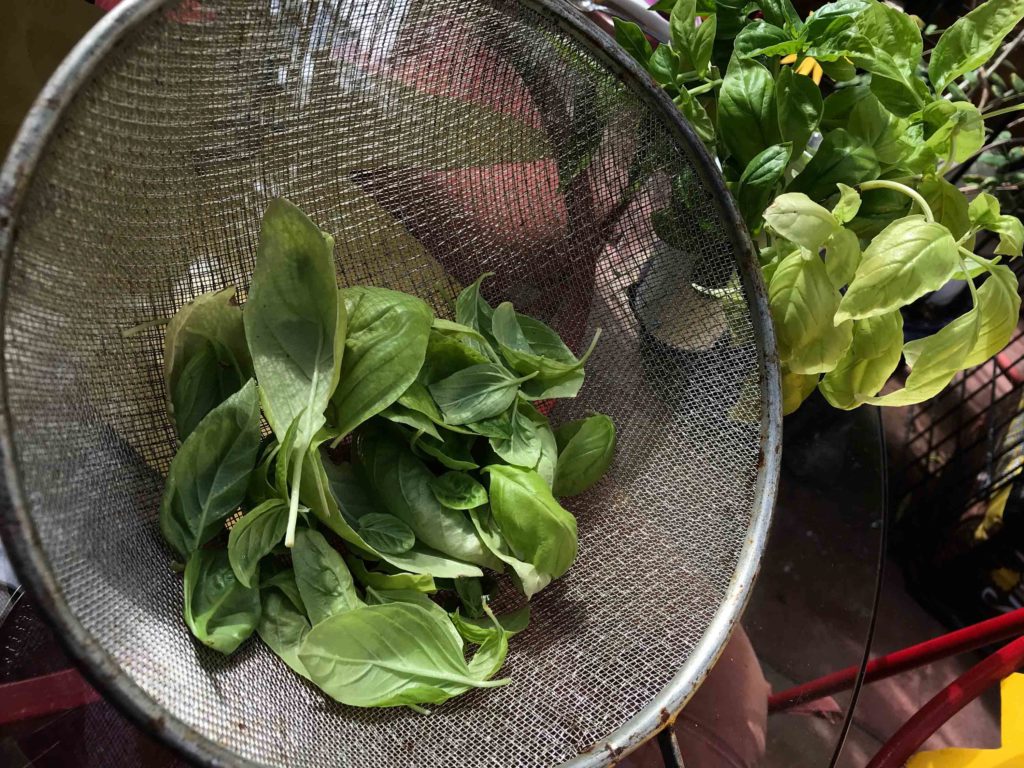
Save any trimmed leaves. Wash and bag harvested leaves in a zip lock bag. Then refrigerate those leaves for cooking. They will keep fine for at least a week.
Keep some of the upper leaves intact on your cuttings. Place the cuttings in water, cut stem down in the water. Again preferably at least one trimmed leaf joint is below the water. Plastic disposable cups make perfect rooting receptacles. Place on a sunny window sill. Change the water every 4-5 days.
Your cuttings should produce roots in about 2 weeks. These cuttings can be transplanted, watered, and allowed to grow another couple of weeks. Then you can repeat the harvesting/cutting process, from these new plants.
Once you get several batches going you can start harvesting one pot a week on a rotational basis. This will give you a perpetual supply all spring, summer, and fall.
You can continue this through the winter indoors, but it will require plant lights and more attention.
![]()